Configuring Secure LDAP connection on Server 2016
This article is based on best practice which we need to follow during the implementation of Active Directory and authentication of it with other software in presence of SSO (Single Sign on). So, what actually ldap means? The Lightweight Directory Access Protocol (LDAP) is used to read from and write to Active Directory. By default, LDAP traffic is transmitted unsecured. You can make LDAP traffic confidential and secure by using Secure Sockets Layer (SSL) / Transport Layer Security (TLS) technology. You can enable LDAP over SSL (LDAPS) by installing a properly formatted certificate from either a Microsoft certification authority (CA) or a non-Microsoft CA. so on this blog I will be sharing my knowledge on how to configure secure LDAP connection on Server 2016.
In default, communication between client and server application are not encrypted for LDAP which means it is possible to monitor device or software and view the communications traveling between LDAP client and Server Computers. But that doesn’t mean it can expose the Kerberos, SASL and even NTLM authentication or authorization, because they do have their own encryption methods. So only the data communication between Client and servers do have possibility of getting compromised. Hence let’s work on the securing the communication.
The port that uses by the LDAP for the normal communication is TCP/UDP 389 whereas for the secure communication it will be using 636 port. So, first let’s know how to check it.
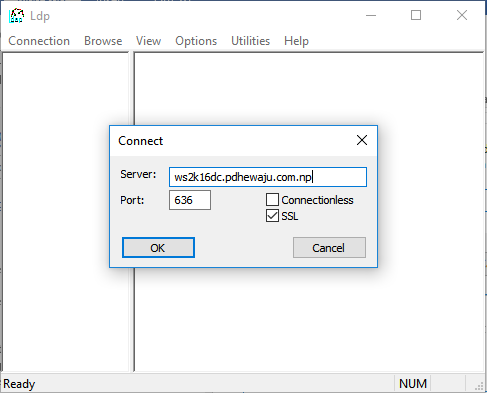
Open your machine, go to run, type ‘ldp’ and click on ‘OK’.

Once this is done, a new window will get open. On the ‘Connection’ click ‘Connect’ and provide the server name and port as 636.

So, if you see this kind of error than this means you do not have configured secure LDAP. Then let’s start configuring it.

Configuring secure LDAP:
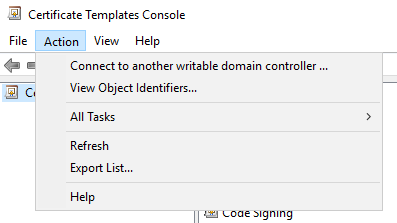
To configure the secure LDAP, we first need to install Certificate Authority on our Domain Controller. To get install Certificate Authority, please follow this blog. After completion of installing Local CA, open it. Right click on ‘Certificate template’, and select ‘Manage’. On ‘Action’, select ‘View Object Identifiers’.
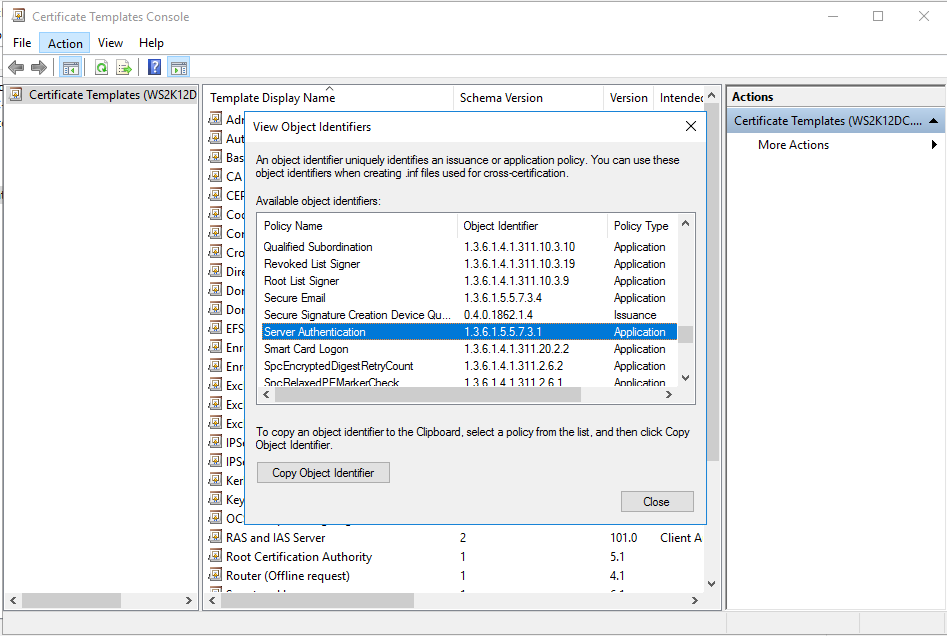
Now scroll down and verify if you do have Server Authentication with object Identifier 1.3.6.1.5.5.7.3.1, this is the thing which allows us to configure secure ldap.
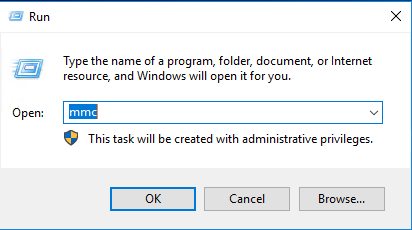
After verifying Object identifier, now open ‘Microsoft Management Console’ (MMC).
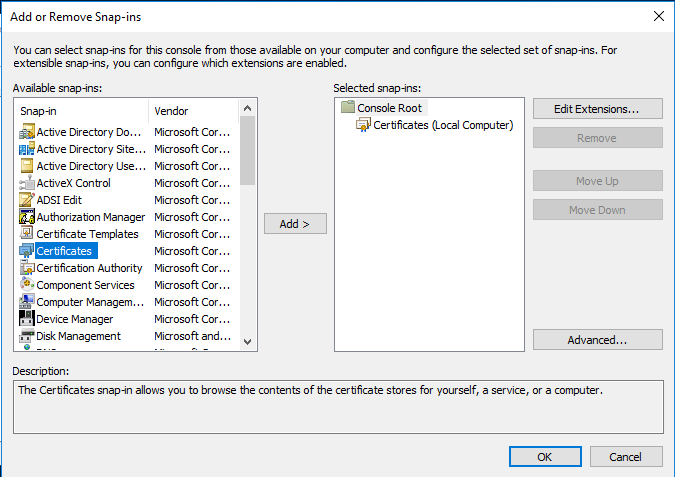
On ‘Microsoft Management Console (MMC)’, ‘Add or Remove Snap-ins’ using computer Certificates
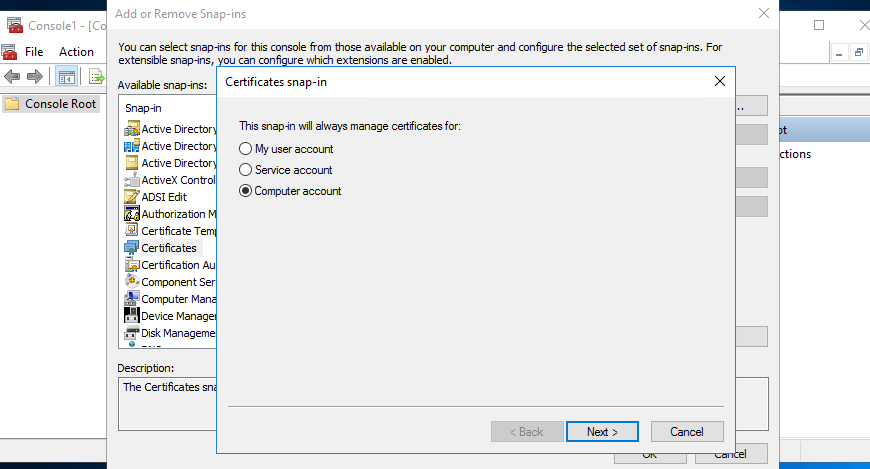
Add certificate for the local computer and click ‘OK’, once this is done.
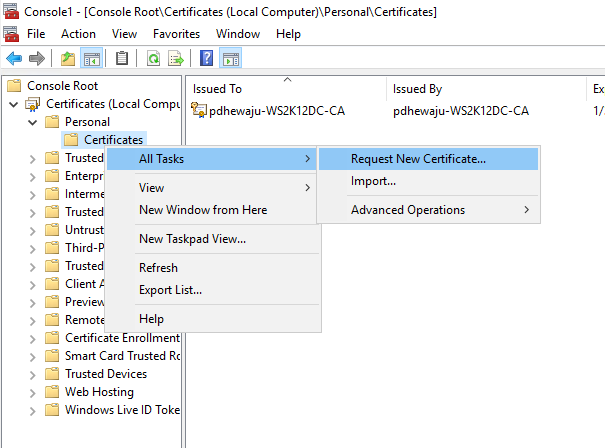
After adding the Local Certificate, expand the Personal below the Certificates.

You will see a new folder name ‘Certificates’ right-click on it and navigate to ‘Request New Certificate’ and select it.
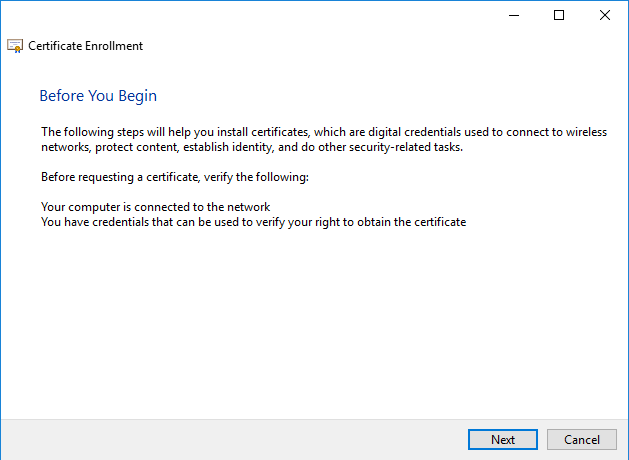
A new window will get open for the Certificate Enrollment, click ‘Next’ on this.
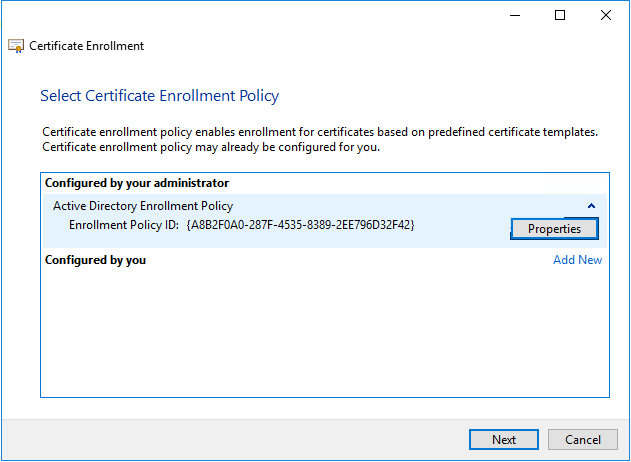
On ‘Select Certificate Enrollment Policy’ click on ‘Next’.
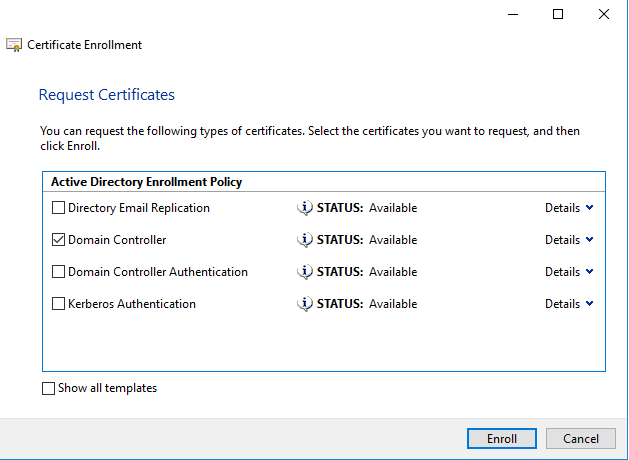
At ‘Certificate Enrollment’, select ‘Domain Controller’ and click on ‘Enroll’.
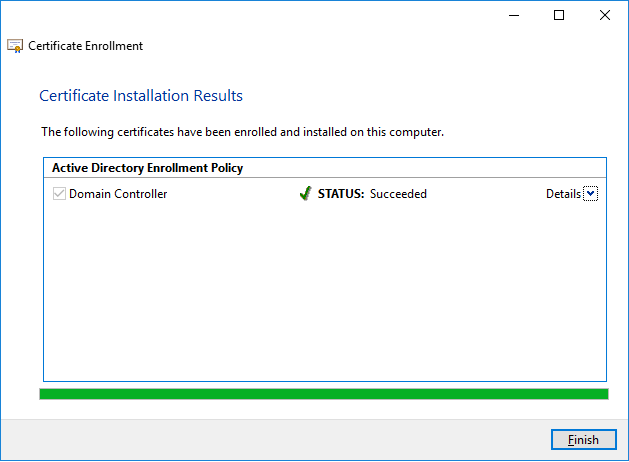
It will take a while to get install the ‘Domain certificate’ on your Domain Controller. After completion click on ‘Finish’.
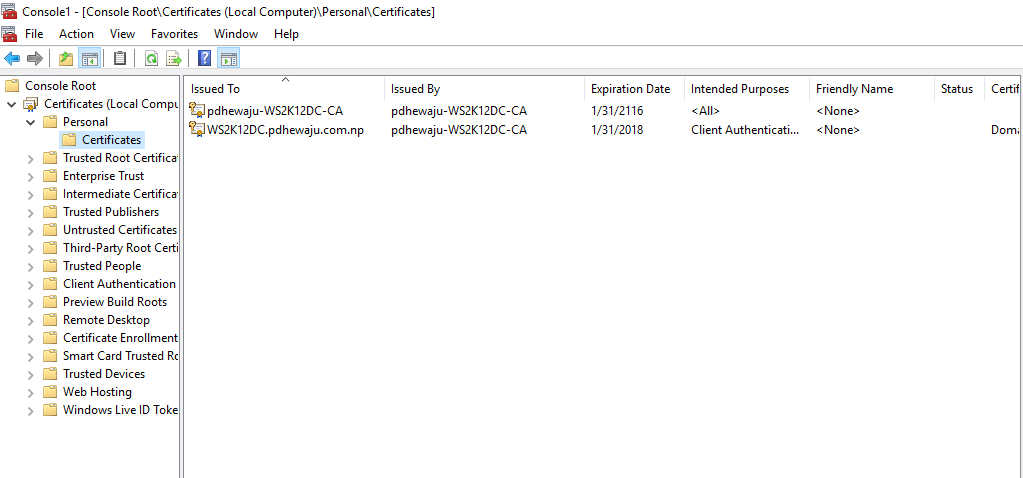
Now you can see the certificate issued to your domain controller on your certificate page.
Testing:
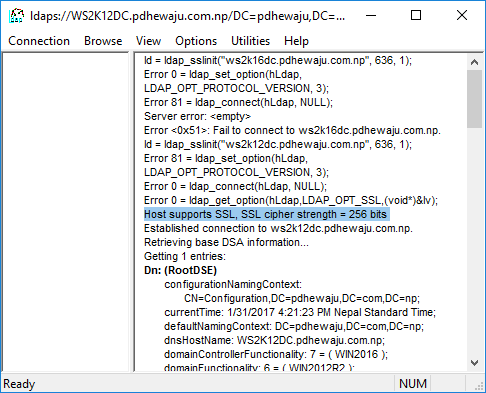
Once you verified the certificate has been installed on your machine, try to get connect to your machine as we did earlier
If the configuration is good, you will receive this kind of message on your LDP console. If it didn’t you might need to restart your machine once.
Hope this was quite helpful blog for the integrating AD authentication with your Application using Secure channel. Keep posting for any comments J

Application Compatibility avilable for Windows 7

Upgrade Office 2013 version of Office 365 ProPlus to Office 2016
[Fix] Windows 7 Black Screens for Some AMD/ATI GPUs
About Author
pdhewjau
Prashant Dhewaju is a Microsoft MVP and Microsoft 365 Adoption Consultant with deep expertise in cybersecurity and modern workplace solutions. He advises organizations across Nepal and the broader region on securely adopting Microsoft 365, improving productivity, strengthening security posture, and driving effective change management. His prior position as a Modern Work Security Specialist at Microsoft saw him providing invaluable guidance to major clients in Bangladesh, Brunei, Cambodia, and Myanmar, assisting them with their foundational security needs. Awarded the esteemed Microsoft Most Valuable Professional (MVP) accolade in 2017, Prashant is recognized globally among Microsoft peers. Since 2010, he has imparted his expertise as a Microsoft Certified Trainer (MCT), conducting specialized training across Nepal.
I have set up a 2-tier PKI during my SCCM installation. Can I leverage it instead of install CA on the Domain controller? Thanks!
yes, you can do that also… it’s just with CA On DC will automatically enables it. Even you can work out with Public SSL but only thing you need to have is Object Identifier with ‘1.3.6.1.5.5.7.3.1’ on your certificate
Great, guide very easy to follow for someone who does not configure DC’s regularly.
For third party servers and devices non windows, I guess general rule is we will need to export the certificate from the Dc and import into the device?
Yes, Peter.
If we are using Private Certificate, we need to import into the devices. But if we are using public Certificate… no need of it.
hello , where do we specify public or private certificate. Kindly share the details
Thanks for the info.
Just for future reference, it’s possible to avoid doing the certificate request manually on every DC by adding a GPO to the default Domain Controller Policy (Computer Configuration -> Windows Settings -> Security Settings -> Public Key Policies -> New Automatic Certificate Request -> Chose the “Domain Controller” template.
I have a Windows 2016 server and we are running hosting SAAS application on it. Our clients want to access our application using LDAPS validating against their organization’s LDAP server. We are receiving the errors: Error 81 = ldap_set_option(hLdap, LDAP_OPT_PROTOCOL_VERSION, 3);
Error 81 = ldap_connect(hLdap, NULL); when trying to connect to their server via port 636. We can telnet in. We have installed the certificate that we found in our event log under Schannel Event ID 36882 in Trusted Root Certificaton Authorities/Certificates and Third-Party Root Certification Authorities/Certificates and even Personal/Certificates. We still receive the error. I’m not sure that the blog link in the Configuring secure LDAP step makes sense for us, since we are not actually running the LDAP server. We have no idea how to fix this. Please help!
Hello,
I have the same problem. I followed the instructions but received the Error 81 msg. Were you able to fix this?
Error 81 = ldap_set_option(hLdap, LDAP_OPT_PROTOCOL_VERSION, 3);
Error 81 = ldap_connect(hLdap, NULL);
Server error:
Error : Fail to connect to _________
Hi Jordan,
can you please verify server authentication? this could be the issue.
So I can connect to the new LDAPS 636 server as per your documentation (very good), from the local server and another local server (both are in azure) but cannot connect to either inbound from another site or outbound to other DCs on the single domain.
Ideas?
Edit: I can connect over port 636 to from another site now (must be replicating?) but not all DCs…
Hi Gray, you need to configure CA on each DC for 636 port listening.
Thank you
Hi,
How can I change the LDAP over SSL port number on windows DC. My customer uses AD DC, but he wants to connect through a custom port.
Thanks,
Rajeev
You can configure AD LDP with custom ports
Built a brand new 2016 server. Promoted it to domain controller. Added Certificate Authority.
Followed this guide to the letter (even verifying server authentication). Ldp fails to connect on port 636/SSL. Did a server reboot. Still unable to connect. OID codes checked correct.
Disregard my last comment. In Ldp, a FQDN was used. Changed to just the server name and a connection could be established.
pdhewjau
You can configure AD LDP with custom ports
Rajeev> How? Can you please point me to the steps to change the same.
Incredible, it worked for me, i love you so much, u saved me !