[Step by Step] Installing and Configuring Office Online Server on Windows Server 2016 for Exchange 2016
Office Online Server (OOS) is successor of Office Web Apps Server (OWA), which allows organizations to deliver browser-based versions of Word, PowerPoint, Excel and OneNote, among other capabilities. Microsoft recognizes that many organizations still value running server products on-premises for a variety of reasons. Just want to update over here, Office Web Apps Server is not supportable for Windows Server 2016.
OOS scales well for your enterprise whether you have 100 employees or 100,000. The architecture enables one OOS farm to serve multiple SharePoint, Exchange and Skype for Business instances. OOS is designed to work with SharePoint Server 2016, Exchange Server 2016 and Skype for Business Server 2015. It is also backwards compatible with SharePoint Server 2013, Lync Server 2013 and, in some scenarios, with Exchange Server 2013. You can also integrate other products with OOS through our public API.
Today, we are releasing our first significant update to Office Online Server that includes:
-
Performance improvements to co-authoring in Word Online.
-
Support for embedded Power View sheets in Excel Online.
-
Improvements when working with tables in Word Online and PowerPoint Online, including better drag-and-drop support.
-
Support for showing spelling errors inline in the PowerPoint editor.
-
Improved picture resizing in Word Online.
-
Copy and paste improvements in PowerPoint Online.
-
Support for shapes in Excel Online viewer.
-
Significant improvements for users that rely on assistive technologies—HTML markup updated to more fully support W3C accessibility standards.
So, the question will be how can I get Office Online Server. The answer would be you need to get download it from your Volume License Service Center. Customers with a Volume Licensing account can download Office Online Server from the Volume License Servicing Center at no cost and will have view-only functionality, which includes PowerPoint sharing in Skype for Business.
Lab Environment:
Here is the architecture I am using for my Lab environment of OOS installation and configuration for Exchange 2016
| Role | HostName | Server OS |
| Active Directory with Certificate Authority | WS2K16DC | Windows Server 2016 |
| Exchange Server 2016 | WS2K16EXG | Windows Server 2016 |
| Office Online Server | WS2K16OWA | Windows Server 2016 |
| Skype For Business 2015 (Standalone) | WS2K16SFB | Windows Server 2016 |
Installing Prerequisites:
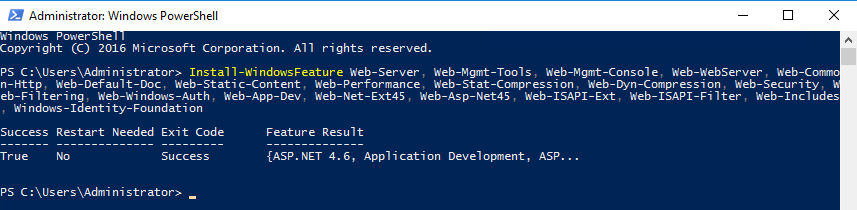
Before installing the OOS, we need to install the pre-requisites. Below is the Windows feature that are mandatory to install for the OOS in Windows Server 2016.
Install-WindowsFeature Web-Server, Web-Mgmt-Tools, Web-Mgmt-Console, Web-WebServer, Web-Common-Http, Web-Default-Doc, Web-Static-Content, Web-Performance, Web-Stat-Compression, Web-Dyn-Compression, Web-Security, Web-Filtering, Web-Windows-Auth, Web-App-Dev, Web-Net-Ext45, Web-Asp-Net45, Web-ISAPI-Ext, Web-ISAPI-Filter, Web-Includes, Windows-Identity-Foundation
Installing OOS:
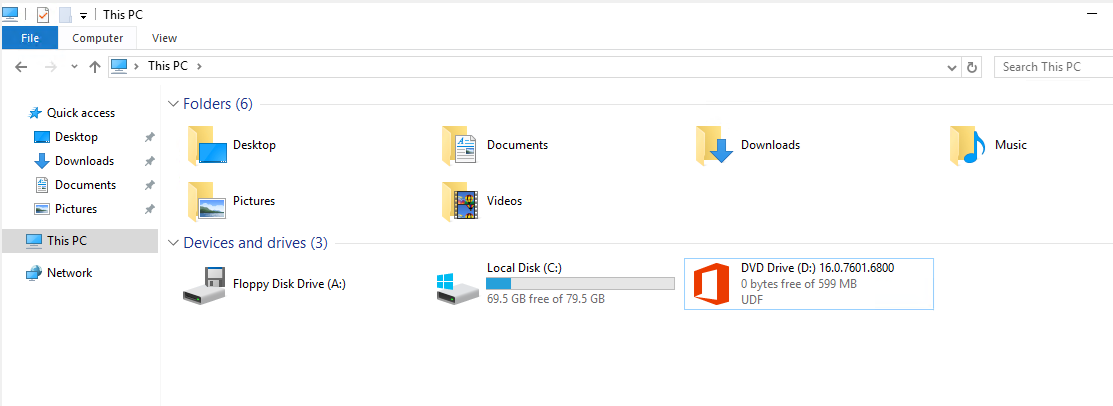
After the installation of Windows Features, now it’s time to install the OOS. To install OOS mount the download DVD from Volume License Service Center, and execute it.
Once the DVD is executed, it will prepare the necessary files that are required for the installation.
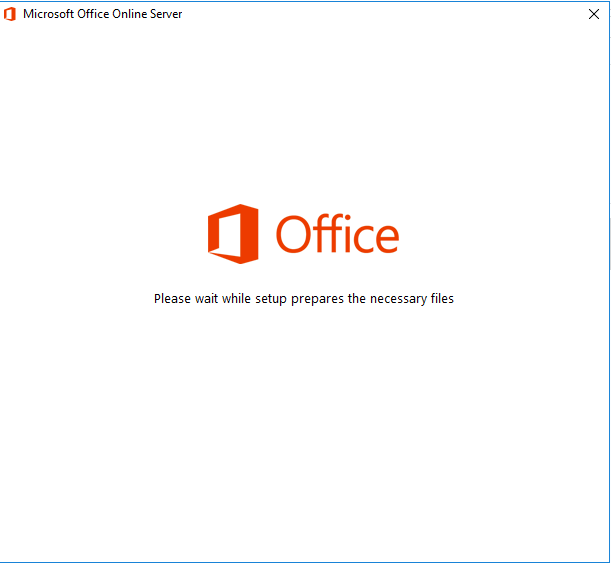
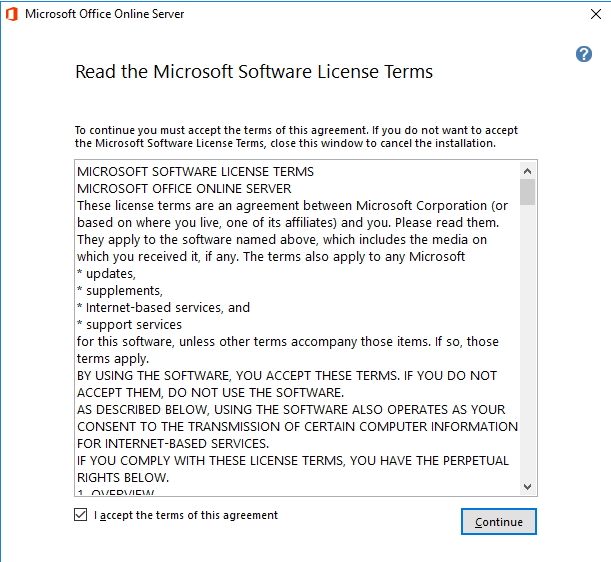
Once the preparation of files is complete, Check on EULA and click on ‘Continue’.
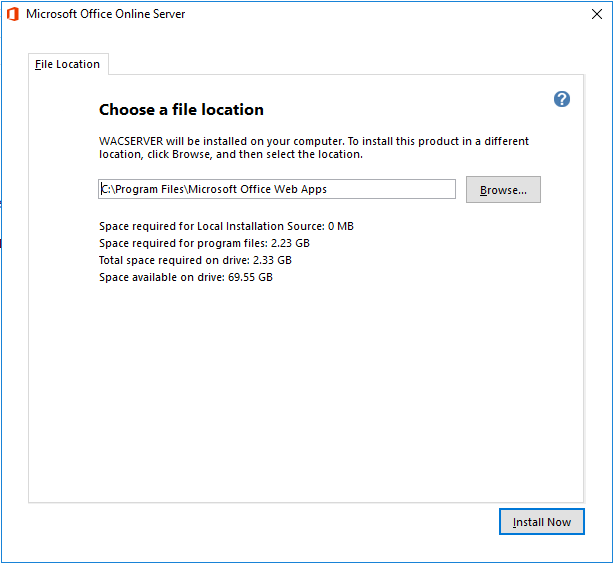
On the ‘File Location’ provide the path where OOS is needed to be installed and click on ‘Install Now’.
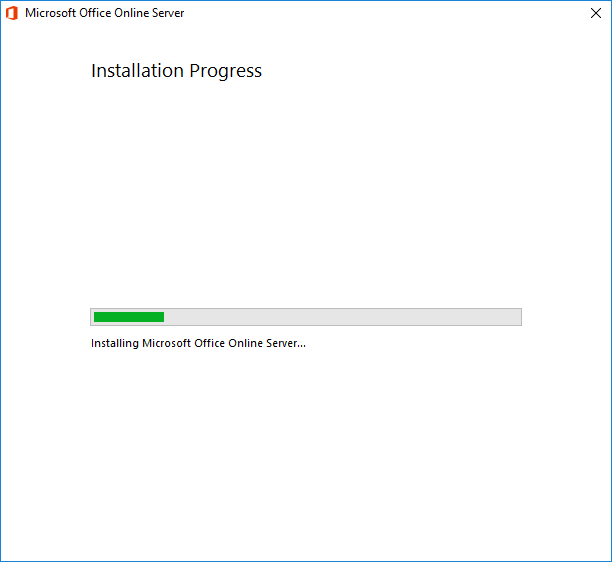
It will take around 10-15 minutes depending upon the specs of hardware to get complete the installation.
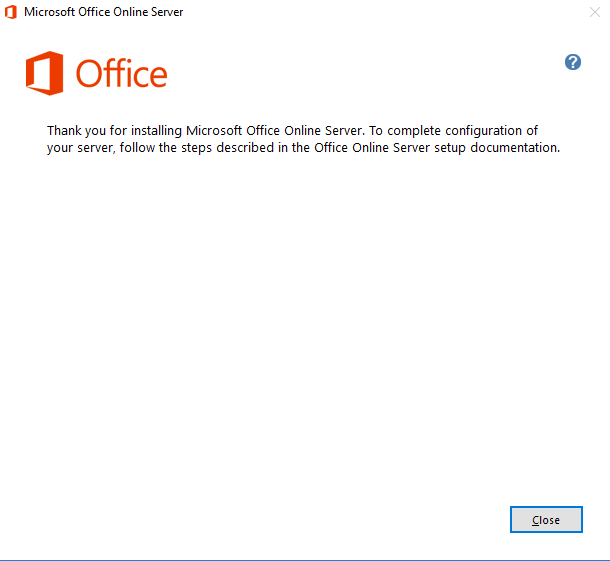
Once the installation is complete, click on ‘Close’.
Configuring OOS:
Unlike other application, it was quite easy for us to install OOS. Now the time is to configure it. Configuring OOS only contains the management of the certificate. Hence if your machine is in the domain and you just want the feature of OOS within your private intranet, it’s okay to use Local Certificate Authority (CA). But if you want to use it on the External organization too, you need to have public SSL. For my demo lab, I just needed private certificate, hence created the one using Local CA.
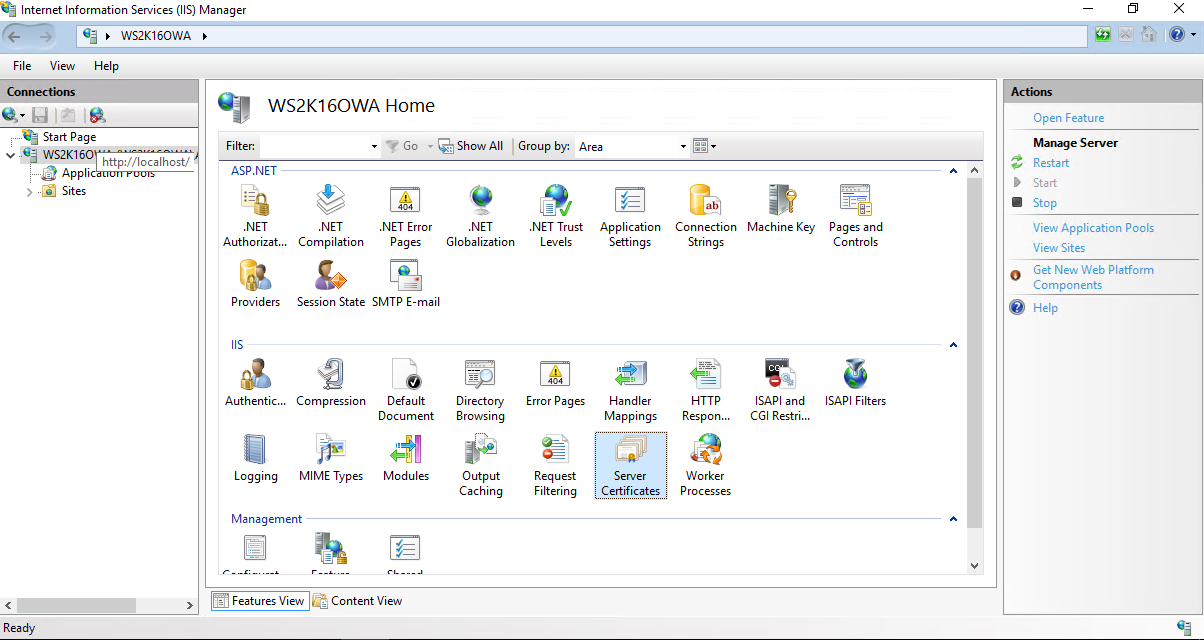
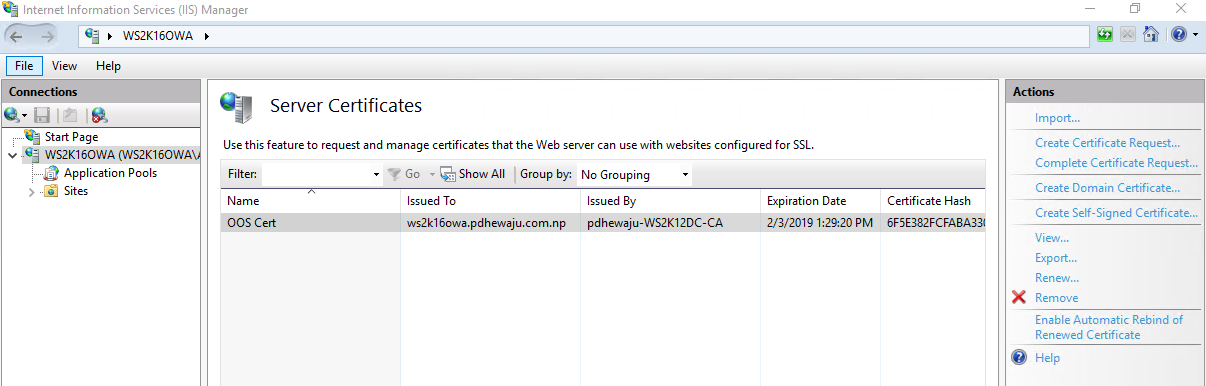
To create the local certificate, Open IIS Manger-> Expand your hostname and open ‘Server Certificates’.
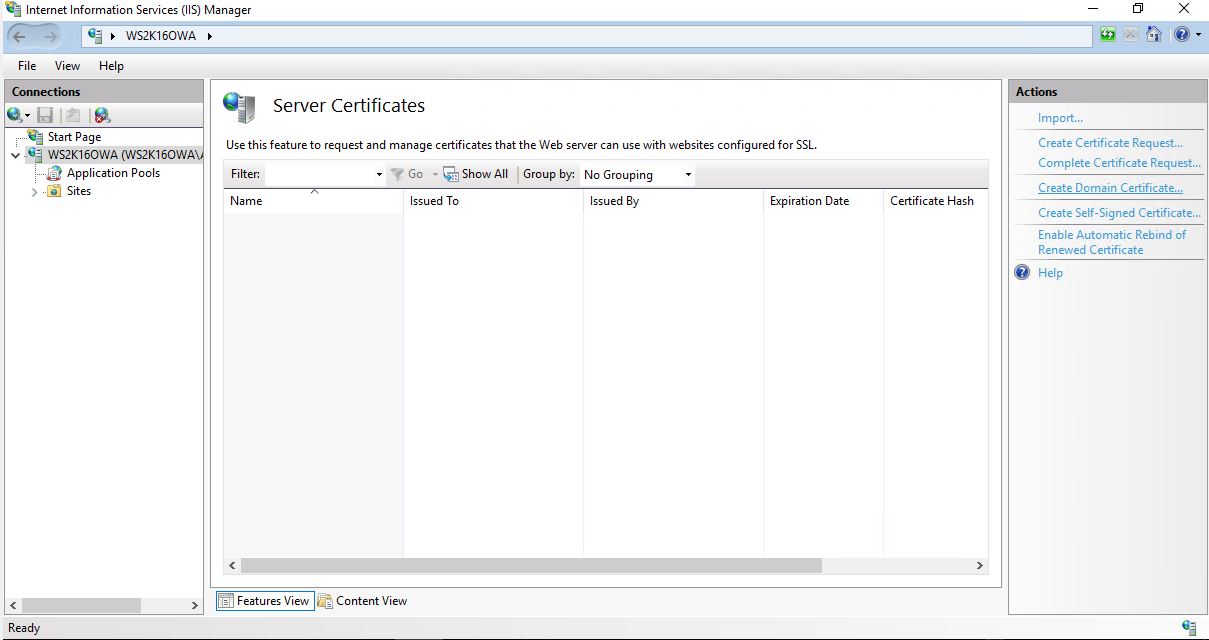
On the ‘Server Certificates’ right side at Action Panel, click on ‘Create Domain Certificate’.
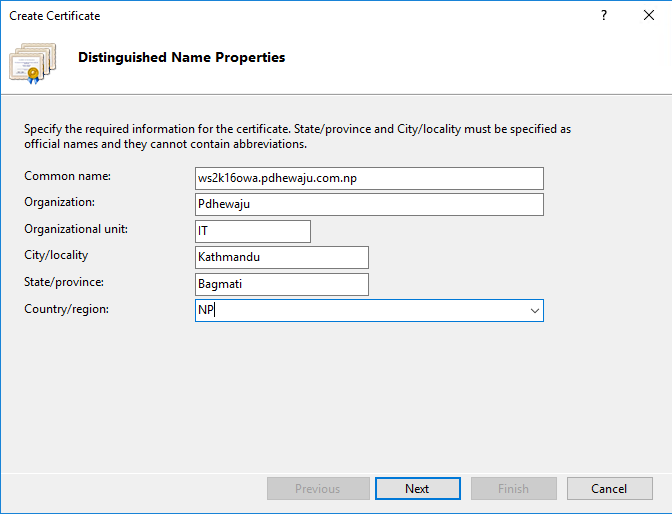
A new window will get open, Provide the detail of Certificate on this window. The most important thing over here is, on the ‘Common Name’ you need to provide FQDN of your server. Else the certificate will not be valid and trusted. ( I have faced few problems year back with this issues, so sharing my experience on it).
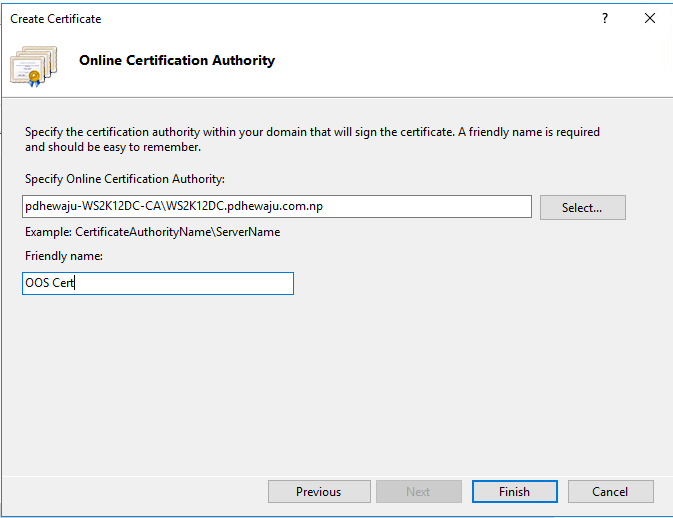
On ‘Online Certificate Authority’, Select the Certificate Authority server and provide the ‘Friendly Name’ this could be anything and click on ‘Finish’.
Now you can see your newly certificate on you ‘Server Certificates’.
To Configure the OOS, we just need to assign the newly created certificate for the OOS Farm with below cmdlet.
PS C:\Users\Administrator>New-OfficeWebAppsFarm -InternalURL "https://WS2K16OWA.pdhewaju.com.np" -ExternalURL "https://WS2K16OWA.pdhewaju.com.np" -CertificateName "OOS Cert"
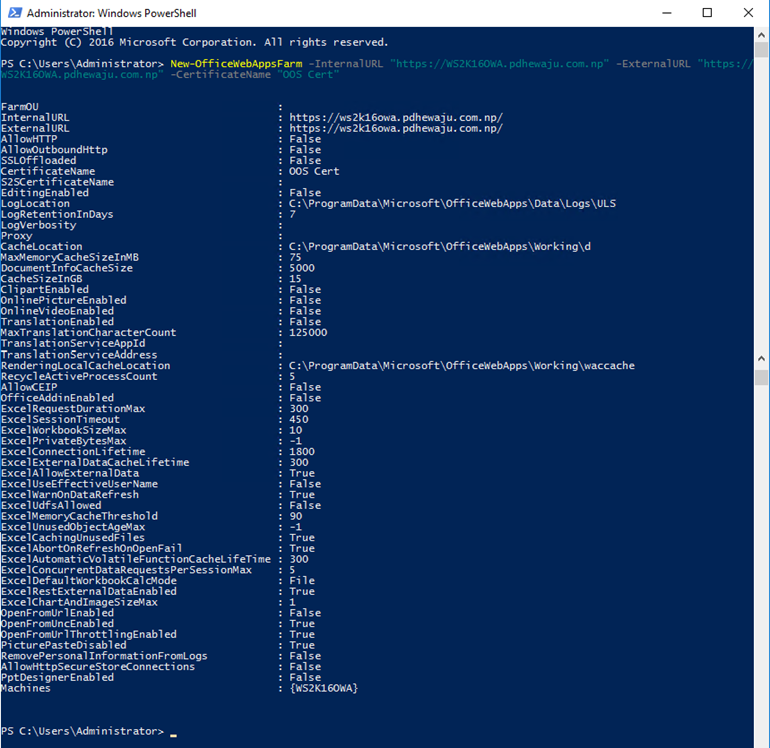
And now our OOS Server is installed and configured completely to integrate with other application like SharePoint, Exchange and Skype for Business.
Configuring OOS for Exchange 2016:
Configuring OOS itself is not worth unless we integrate it with any other application like SharePoint, Exchange and Skype for Business. Over here I will sharing my knowledge on how we can integrate OOS with Exchange 2016, also had share how we can troubleshoot few errors.
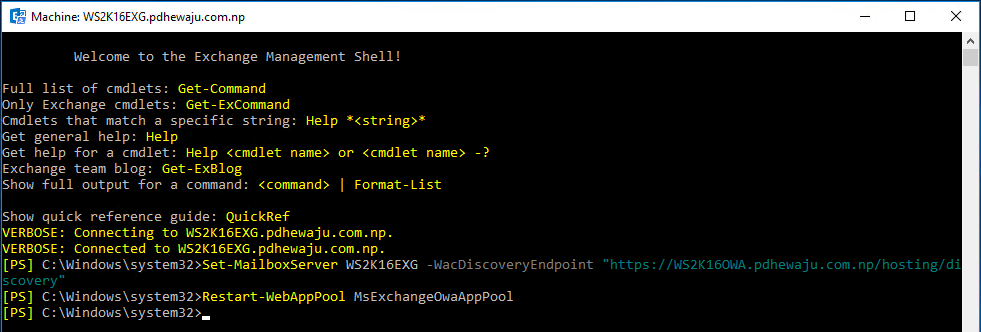
To configure OOS for Exchange 2016, open Exchange PowerShell and run below cmdlet to active WAC Discovery Endpoint. Basically, the link for the WAC Discovery Endpoint will be ‘https://<FQDN of OOS>/hosting/discovery’
[PS] C:\Windows\System32>Set-MailboxServer WS2K16EXG -WacDiscoveryEndpoint "https://WS2K16OWA.pdhewaju.com.np/hosting/discovery"
[PS] C:\Windows\System32>Restart-WebAppPool MsExchangeOwaAppPool
After configuration of WAC Discovery Endpoint for the Mailboxes, we need to configure it for the organization too. To configure WAC Discovery Endpoint for the Organization use below cmdlet.
[PS] C:\Windows\System32>Set-OrganizationConfig -WacDiscoveryEndpoint "https://WS2K16OWA.pdhewaju.com.np/hosting/discovery"
[PS] C:\Windows\System32>Restart-WebAppPool MsExchangeOwaAppPool

And it is all to bind the Office Online Server with Exchange Server 2016. Now let us move for the testing of the configuration.
Testing:
For the testing purpose, I have created two email address
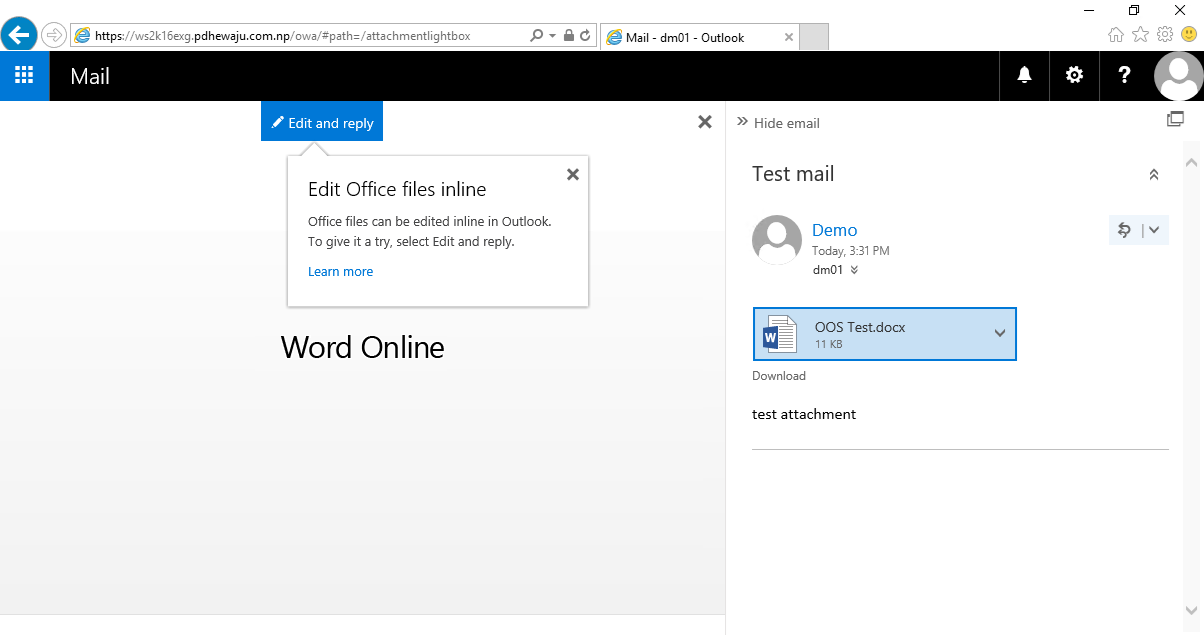
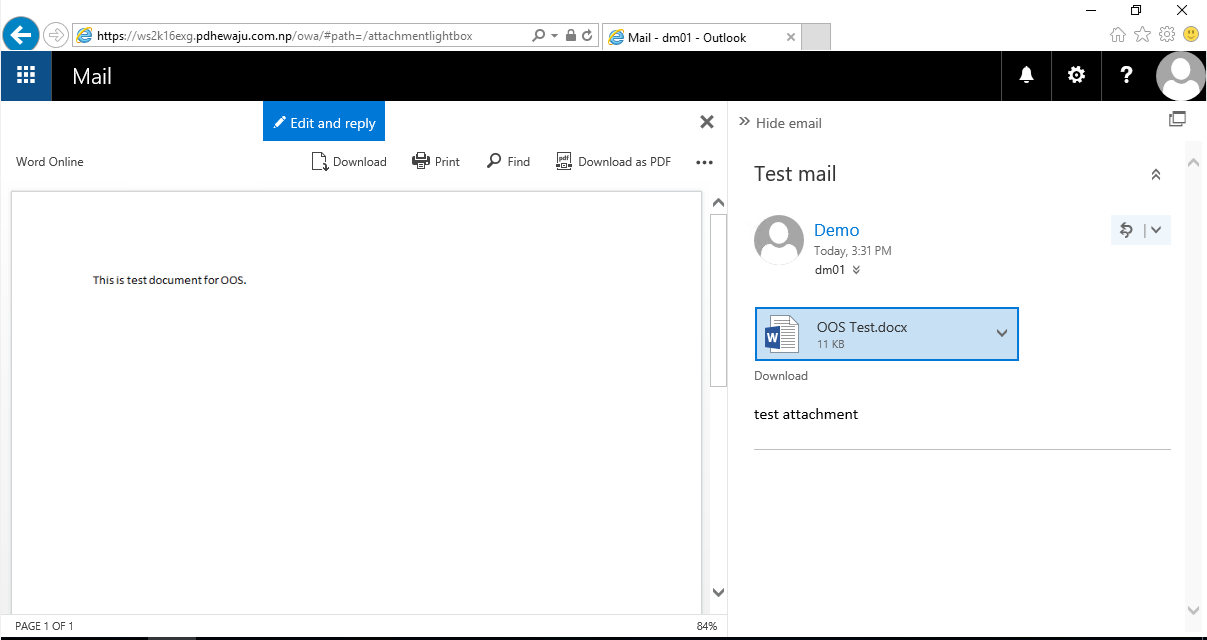
Over here I have attached a Word Document on an email and send it to the DM01 to check it. When I clicked on the dropdown of the attachment document, I can see two options ‘View’ and ‘Download’. This means my configuration is working.

Once you click on ‘View’, you document will start to get open on Word Online which has been hosted by OOS Server.
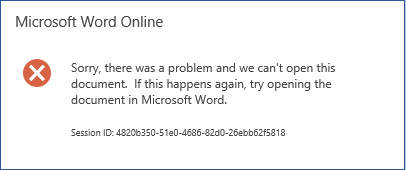
But sometime you might get this kind of error ‘Sorry, there was a problem and we can’t open this document. If this happens again, try opening the document in Microsoft Word.’ To fix this error, get to this blog where I have posted the resolution for problem like this.
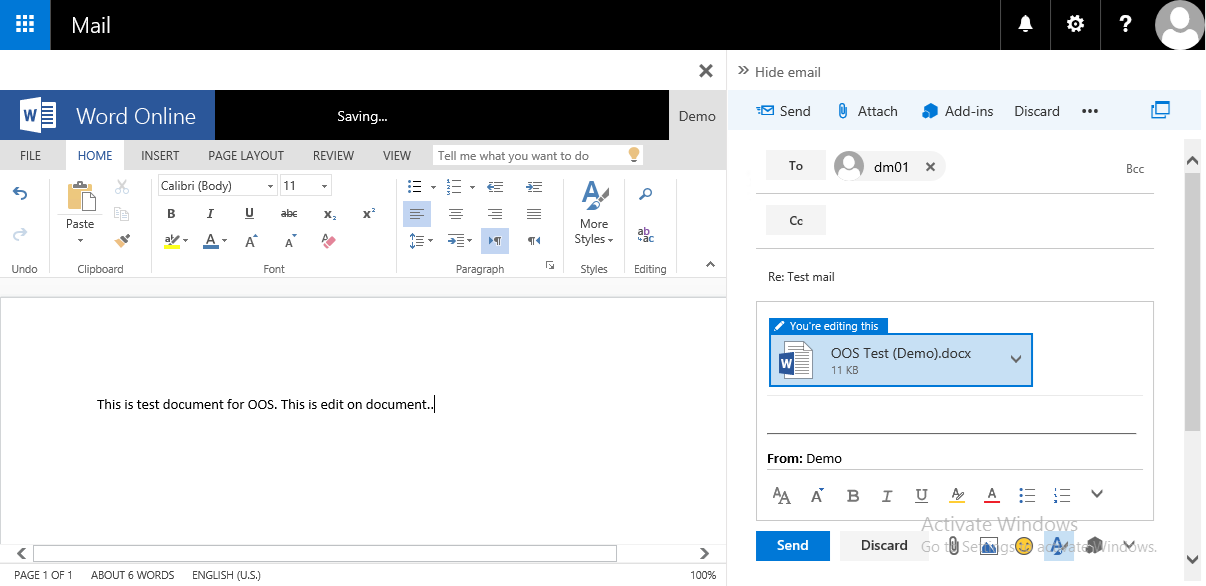
If everything goes right, you will be able to read and edit the document.
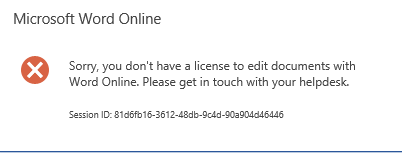
During the Edit of the document you might face this issue ‘Sorry, you don’t have a license to edit document with Word Online. Please get in touch with your helpdesk’. If this kind of error appears, please follow the instruction on this blog to resolve it.
Similarly, you can edit and view other office documents too like PowerPoint and Excel.

I hope this was the easy configuration for the integration of Office Online Server with Exchange Server 2016. Please keep commenting for any issue you do have on this scenario. 🙂
![Configure WordPress on Microsoft Azure [step by step]](/wp-content/themes/ribbon-lite/images/nothumb-related.png)
Configure WordPress on Microsoft Azure [step by step]

Enhanced anti-spoofing capabilities to all Exchange Online Protection (EOP) organizations
DAG Configuration on Exchange 2016
About Author
pdhewjau
Prashant is a Principal Cybersecurity Specialist at Thakral One Nepal. His prior position as a Modern Work Security Specialist at Microsoft saw him providing invaluable guidance to major clients in Bangladesh, Brunei, Cambodia, and Myanmar, assisting them with their foundational security needs. Awarded the esteemed Microsoft Most Valuable Professional (MVP) accolade in 2017, Prashant is recognized globally among Microsoft peers. Since 2010, he has imparted his expertise as a Microsoft Certified Trainer (MCT), conducting specialized training across Nepal.
I have followed these steps all went well but in last i observed IIS Service is not starting on Office Online Server giving error.
Cannot start service W3SVC on computer’.’.
I have followed steps, IIS is not starting on my Office Online Server giving following error
Cannot start service W3SVC on computer’.’.
hi Prashant,
i’m using win 2016 too. when i’m trying to run the command let section, but it complaining about “inkandhandwritingservices” not isntalled or enabled.
looking around and seems everyone got this problem too. how did you go through the command let for new-officewebappfarm without this error?
thanks
Hi Hery,
‘inkandhandwritingservices’ is a feature of windows Server, if there is a prompt for it, Add the feature from Server Manager.
hi pdhewjau
trying both cmdlet and gui, cannot install or enable it. it seems cannot found the feature. so, how you did it as described in your article?
Hi Hery,
Can you share us your error? and also windows version. As well, is this your dedicated machine to OOS or shared one.
Should the hosting/discovery site be prompting for credentials??? After presenting creds it works fine. But – should it be?
I don’t think it should have been prompting for the credential. Are you doing this on domain environment or out of domain. anyway if you can add the OOS server on the Trusted site. this should work.
Hello
I wonder if you install Microsoft Office Online server and after you’ve integrated it with Exchange, Sharepoint,… if it’s also shows when other users are editing the same document as you…
good morning sir
you could help me with the iso of office web server for educational purposes, I ask you this favor motivated that the microsoft servers do not allow the download of this app. Thank you.
Hi Joel,
unfortunately i cannot help you on this. But if you do have Volume Licensing portal, you can get download from it.
Hi,
Will it work on Exchange 2019? I tried OOS Nov 2018 with Exchange 2019. Unable to view any documents. Keeping same error as reported above in your post (Sorry there was a problem and we can’t open the document blah blah)
I had used OOS before with Exchange 2016. No such error before.
Yes, it will…
Unfortunately it is not working for me. I tried the same install process on Exchange 2016 and it works without any issue. With Exchange 2019 integration, I cannot view the documents. Not sure, if it is OOS or Exchange 2019 issue. The OOS logs are very difficult to read and understand. Wish there was a easy way to figure out the problem and fix the issue.
Hi pdhewjau
I have installed successfully Office Online Server, following all prerequisite steps.
However, I encounter the “CertificateNotFound” error whenever I create the new farm.
Below is the result I get.
PS C:\> New-OfficeWebAppsFarm -InternalURL “https://officeonline.bot.co.tz” -ExternalURL “https://officeonline.thebank.co.tz” -CertificateName “TheBankWildcard2018”
New-OfficeWebAppsFarm : Office Online was unable to find the specified certificate.
At line:1 char:1
+ New-OfficeWebAppsFarm -InternalURL “https://officeonline.thebank.co.tz” – …
+ CategoryInfo : ObjectNotFound: (:) [New-OfficeWebAppsFarm], ArgumentException
+ FullyQualifiedErrorId : CertificateNotFound,Microsoft.Office.Web.Apps.Administration.NewFarmCommand
PS C:\>
The certificate is indeed installed. Below is the evidence:
PS C:\> Get-ChildItem cert:\localmachine\My\ | FL FriendlyName,Subject,NotBefore,NotAfter
FriendlyName : TheBankWildcard2018
Subject : CN=*.thebank.co.tz, O=THE BANK, L=Dar Es Salaam, S=Dar Es Salaam, C=TZ
NotBefore : 12/18/2018 3:00:00 AM
NotAfter : 12/28/2020 3:00:00 PM
PS C:\>
What is wrong, and how can I resolve this?
Thank you very much in advance.
Can I suggest you update this article to indicate that when you deploy the OOS site it’s going to overwrite sites using the ports in question? Given what I found online I am doing this on a single server with Exchange, SharePoint and more (only a handful of users, more for my learning) and it just went bang!!!
Installing & configuring OOS server is good, so thanks for that>
I’m trying to bind OOS for SharePoint 2019 configured for Forms Authentication, does it work?
I understand, Classic doesnt work, and cliams work, but nowhere it stated about Forms