Customizing/ Branding Azure WordPress step by step
Hey everyone, I am back again with my another for customizing or we say Branding Azure WordPress. On my Previous Blog you have gone through the step by step process of hosting WordPress on Microsoft Azure. Thank you reading that blog. Basically, when we create hosting for Azure on WordPress. You will get default web address of something.azurewebsites.net but if you are going to host on your domain then the naming will not be going to work. So, on this blog we will be looking after how we can Brand Azure WordPress Services. Before starting with these steps, reminder for you; you need to have your own custom domain with CPanel access. Else you will not be able to configure Azure WordPress without it.
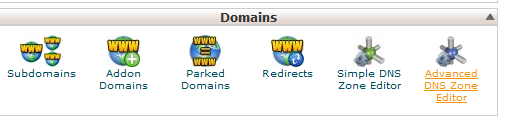
After the complete configuration and launching of Azure WordPress website, click on the services on you Dashboard. This will open you a new menu like on this below snap shot, scroll down and select on ‘Custom Domains’.

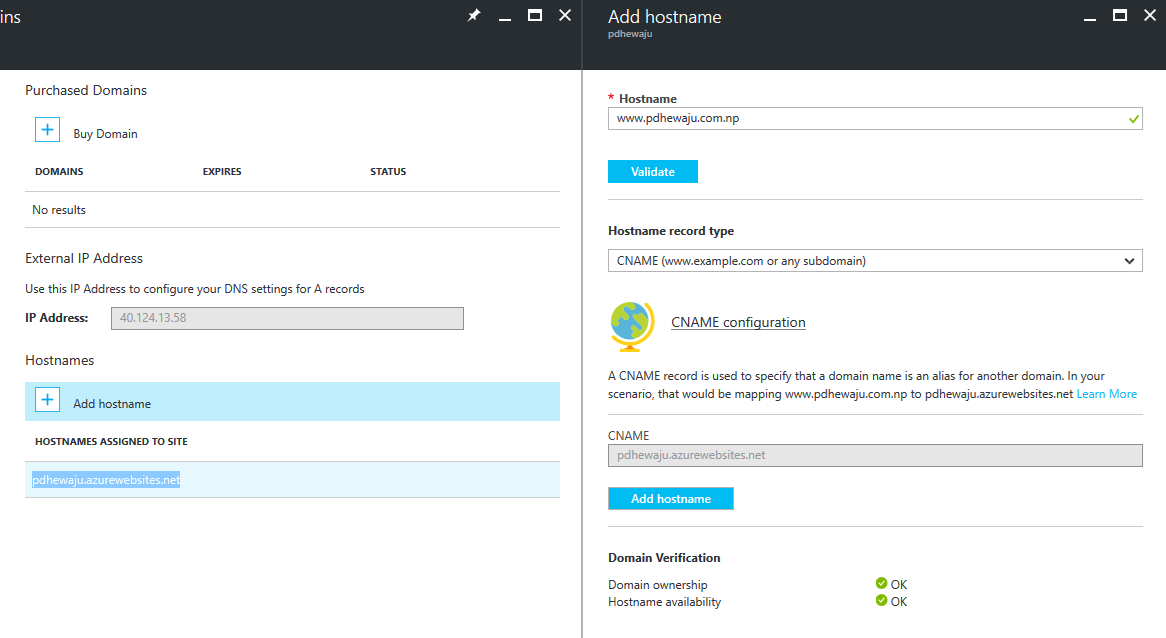
After you click on ‘Custom Domains’ you will find new expansion over where you can see the options to ‘Purchased Domains’ or ‘External IP Address’ with Hostnames. For the record, keep the copy of the IP that will get display on you IP Address. We need to have that one. As I already do have a private domain, I will select ‘Add hostname’ to add my domain. A new expansion for the ‘Add hostname’ will get appear. On the ‘Hostname’ type your domain name as I did and validate the configuration. But before validating this configuration, you need to do something on DNS of your CPanel.

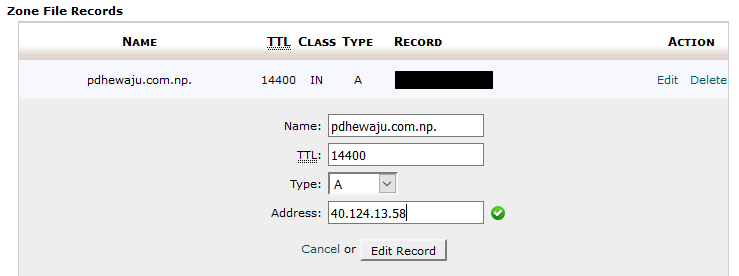
On your CPanel, go to the ‘Advance DNS Zone Editor’ and add the record as of the below.
Add ‘A record’ with the IP that has been shown up as ‘External IP Address’ earlier to the Name of your domain as of below snap.
On the similar method, you need to add one ‘TXT record’ also binding with your customized domain with current appeared domain on Azure WordPress.

Once this configuration is done, you are okay with the validation process.

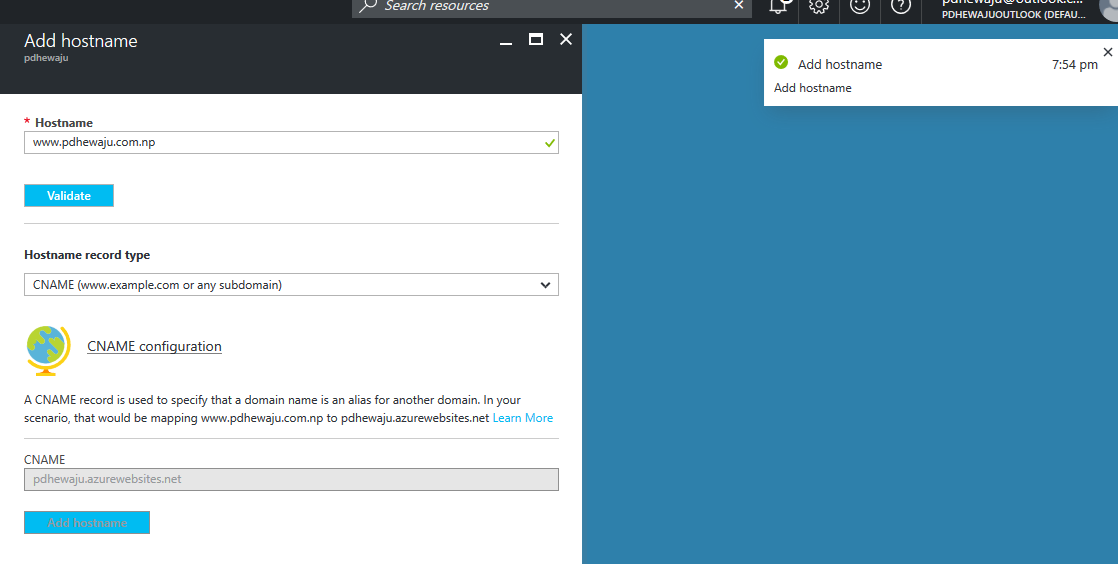
After the validation, you can ‘Add hostname’ on you services by clicking on ‘Add hostname’
After adding hostname, it might take 24-48 hours to get replicate you domain name within the internet DNS zone. So you need to wait for a while before browsing your website.
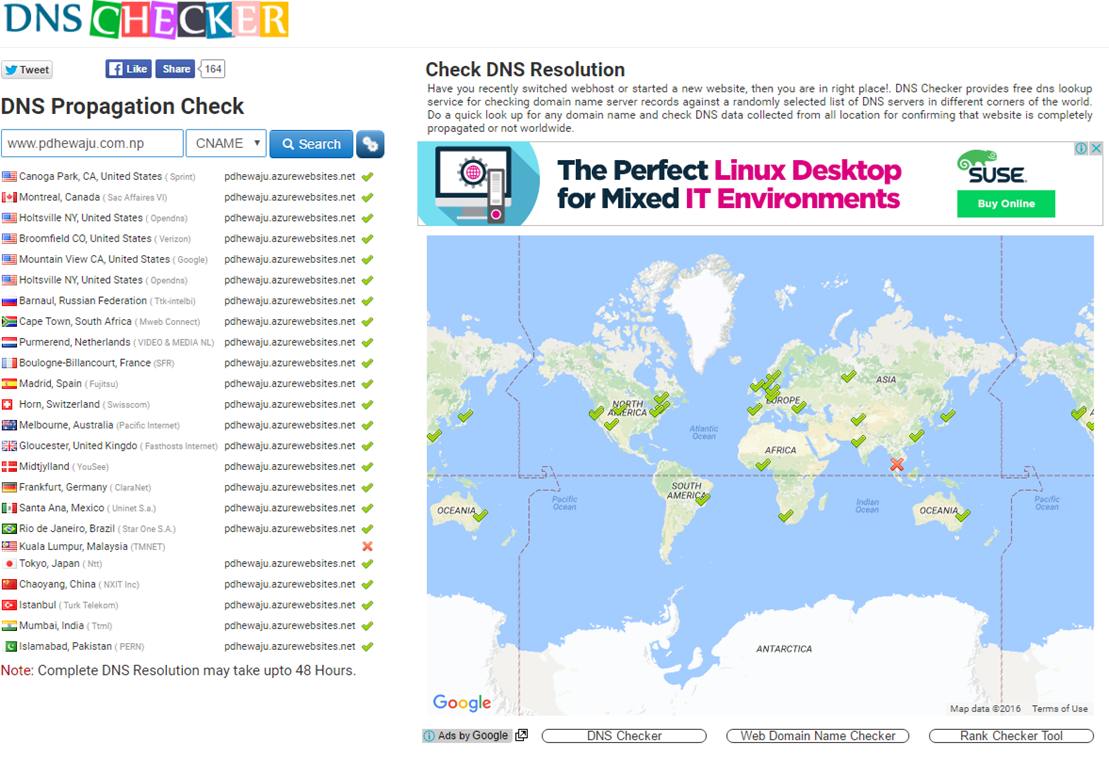
To verify the replication or propagation of your hostname, you can use this website https://dnschecker.org as I have done for mine.
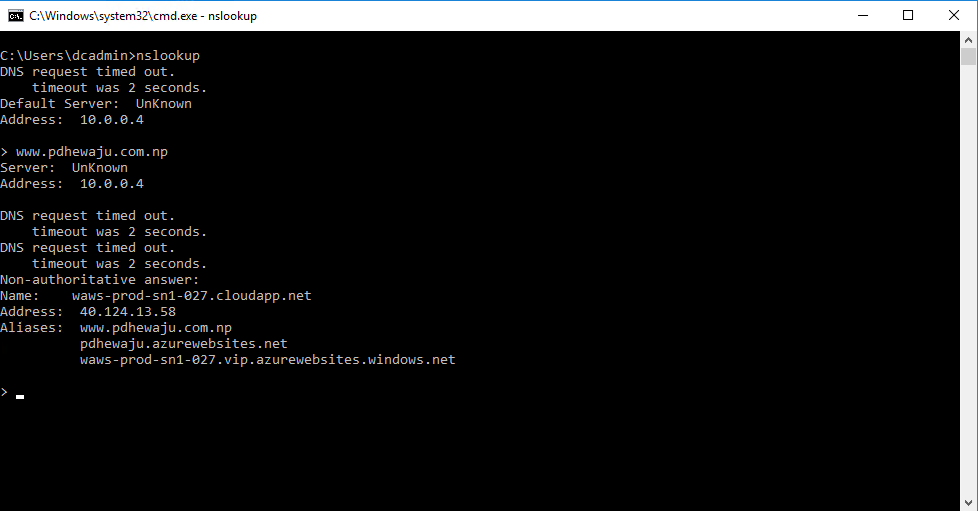
Once you find the propagation is good, you can check from the ‘NSLOOKUP’ command for name server of your newly hosted domain name.
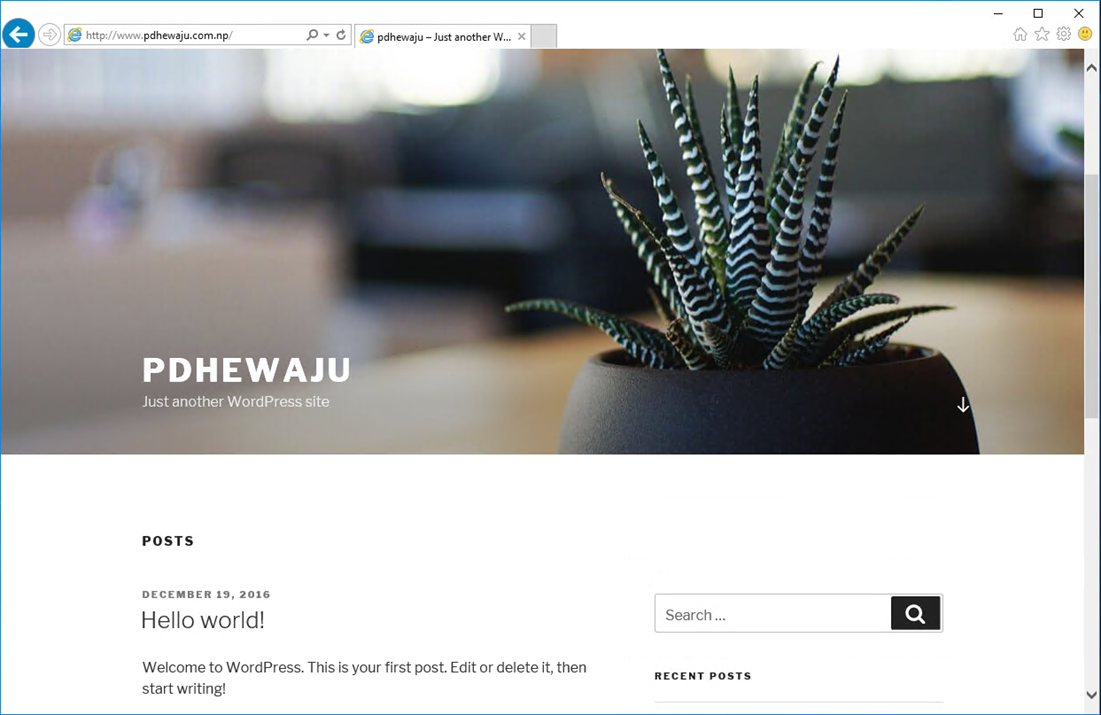
And here finally, you can browse your Azure hosted WordPress with your own domain .
I hope this was helpful for you… for further keep tuning :-).

Install and Configure AAD Sync for Office 365
![[Solve]The fully qualified domain name for node could not be found.](/wp-content/themes/ribbon-lite/images/nothumb-related.png)
[Solve]The fully qualified domain name for node could not be found.
Privacy Center Rogue Antivirus Copies Microsoft Privacy Portal
About Author
pdhewjau
Prashant Dhewaju is a Microsoft MVP and Microsoft 365 Adoption Consultant with deep expertise in cybersecurity and modern workplace solutions. He advises organizations across Nepal and the broader region on securely adopting Microsoft 365, improving productivity, strengthening security posture, and driving effective change management. His prior position as a Modern Work Security Specialist at Microsoft saw him providing invaluable guidance to major clients in Bangladesh, Brunei, Cambodia, and Myanmar, assisting them with their foundational security needs. Awarded the esteemed Microsoft Most Valuable Professional (MVP) accolade in 2017, Prashant is recognized globally among Microsoft peers. Since 2010, he has imparted his expertise as a Microsoft Certified Trainer (MCT), conducting specialized training across Nepal.