Deploy O365 office package Using SCCM
Hi Everyone… On my previous blog, I have shared my knowledge on how we can deploy Office 365 office package using GPO on large scale. Now on this blog, we will discuss how we can Deploy O365 Office Package using SCCM with much reliable method using System Center Configuration Manager (SCCM). In this method, we too need offline package of office 365 office package. Which I have discussed on my earlier blog to create Office 365 Office Package. Once the package is ready we can follow the below steps.
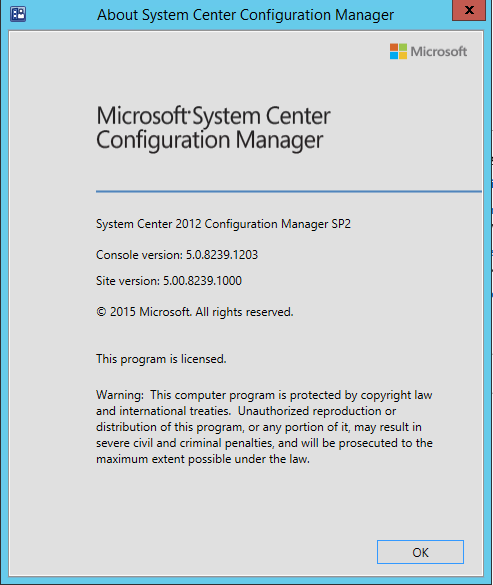
As I do have SCCM 2012 SP2 on my lab environment, I am going to use this one. Although, configuration of deployment is same on all version of SCCM. On the Deployment of Office 365 package installer, I have segmented this blog on three parts
- Create Application Wizard
- Update Distribute Point
- Deploy O365
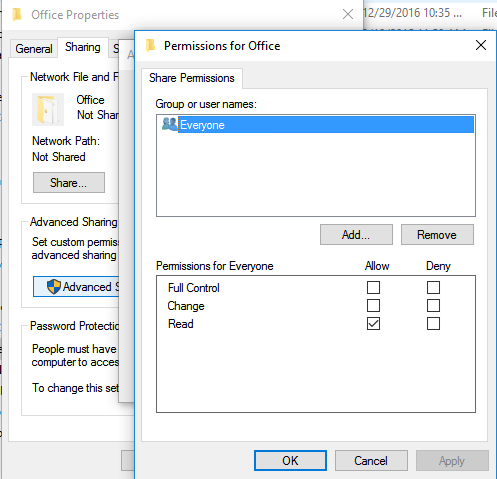
As on Push using GPO, over here also we need to share the downloaded offline installer package with the credential of ‘Everyone’ with Read Permission.
Create Application Wizard:
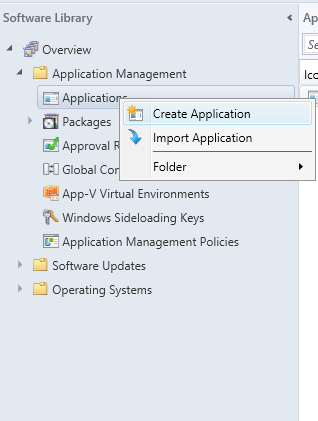
After sharing the folder, get to you SCCM Console and Select ‘Software Library’ on below panel. After which expand ‘Application Management’ and right click on ‘Applications’ to ‘Create Application’.
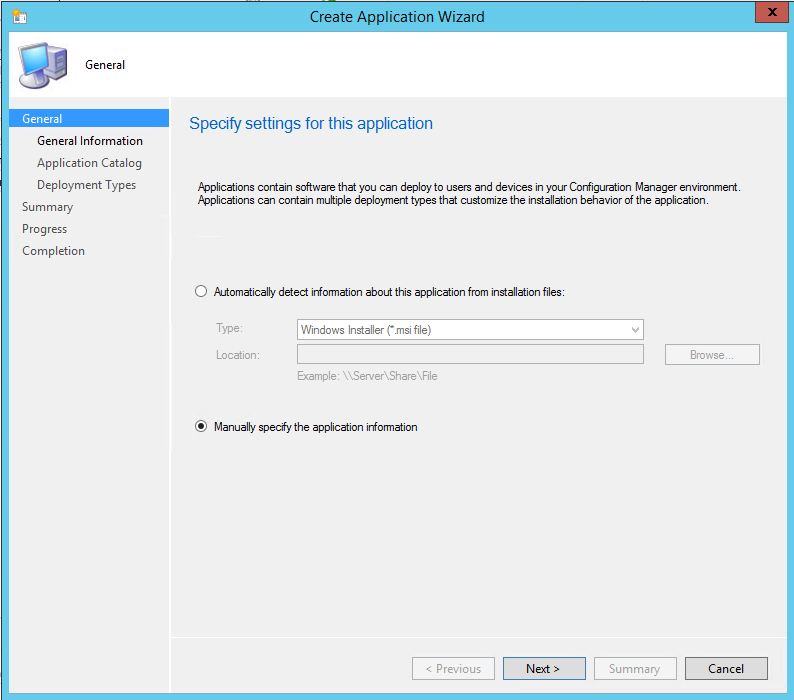
A new window will get open to ‘Create Application Wizard’. As our installer is on ‘exe’ extension, select ‘Manually specify the application information’ and click on ‘Next’.
On ‘Specify information about this application’ window, provide the general information of this application. All fields are not Mandatory except ‘Name’.
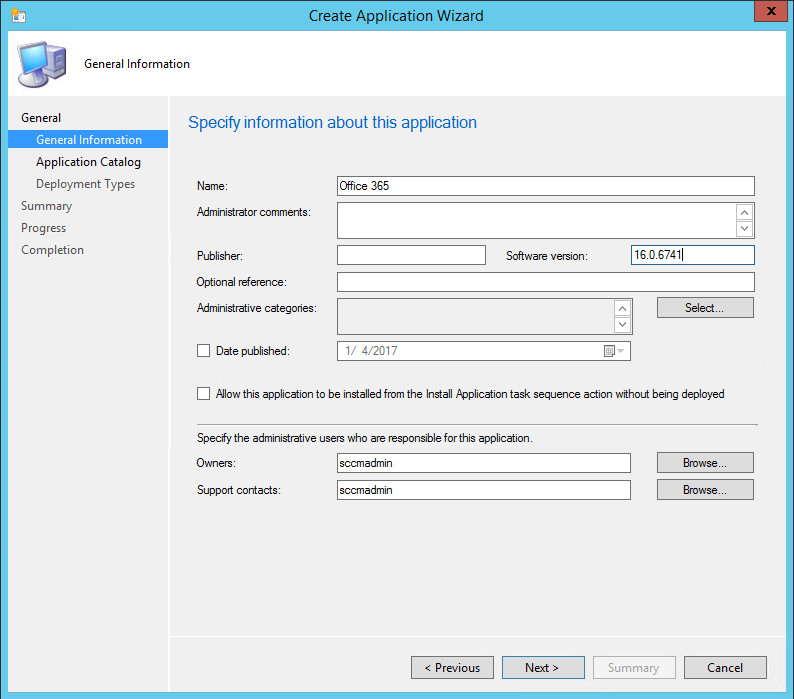
As I didn’t need to specify the catalogue of this application, I just clicked ‘Next’.
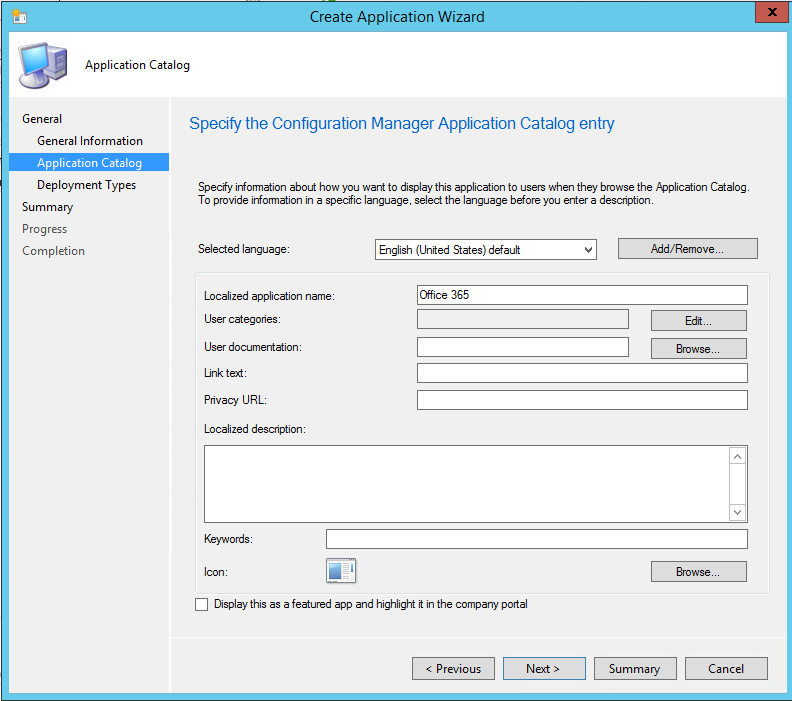
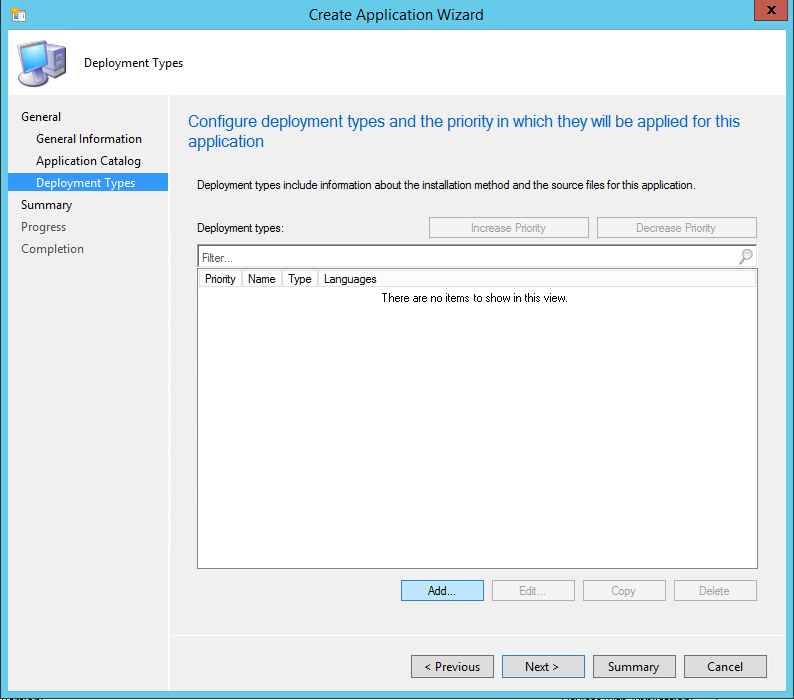
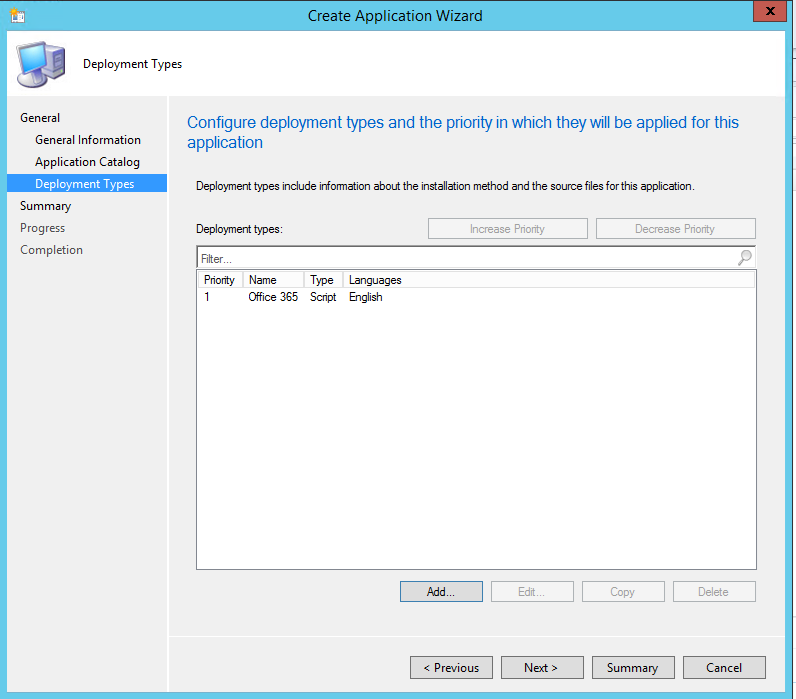
Now you can see the ‘Deployment Types’ is empty, to add a Deployment type click on ‘Add’.
After clicking on ‘Add’ a new window of ‘Create Deployment Type Wizard’ will get open for the management of ‘exe’ extensions. On ‘Type’ select ‘Script Installer’ and click on ‘Next’.
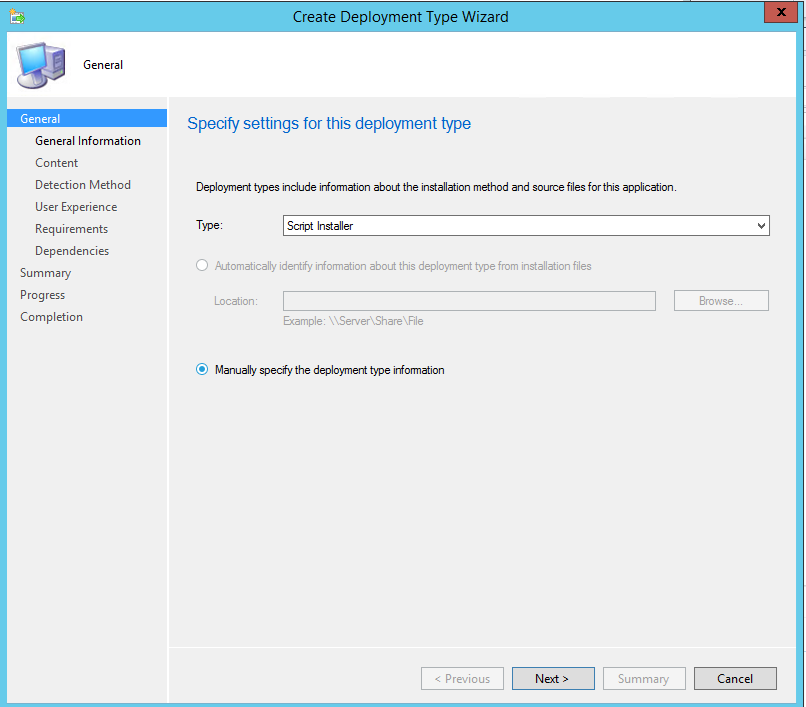
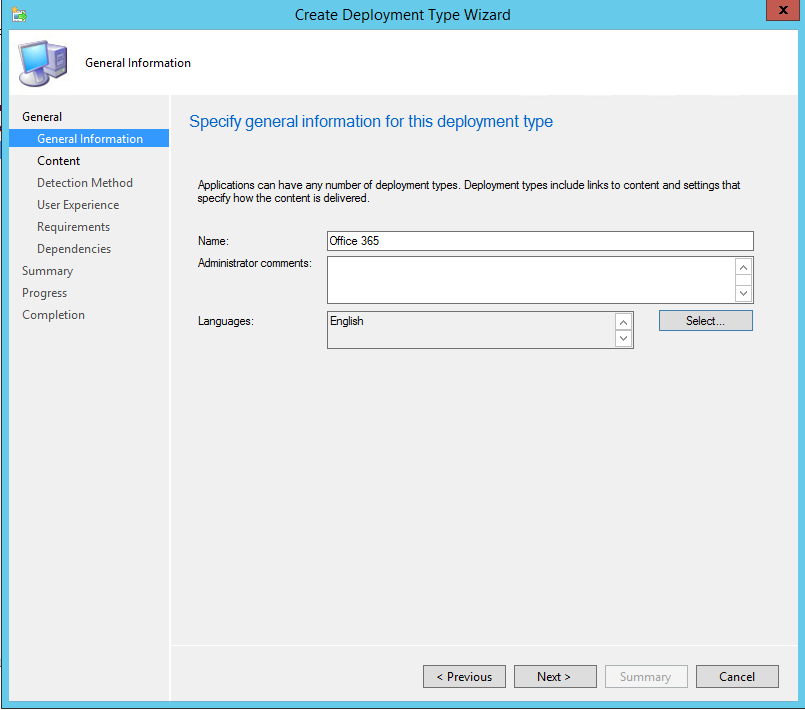
Provide the General information of this Deployment type and click on ‘Next’.
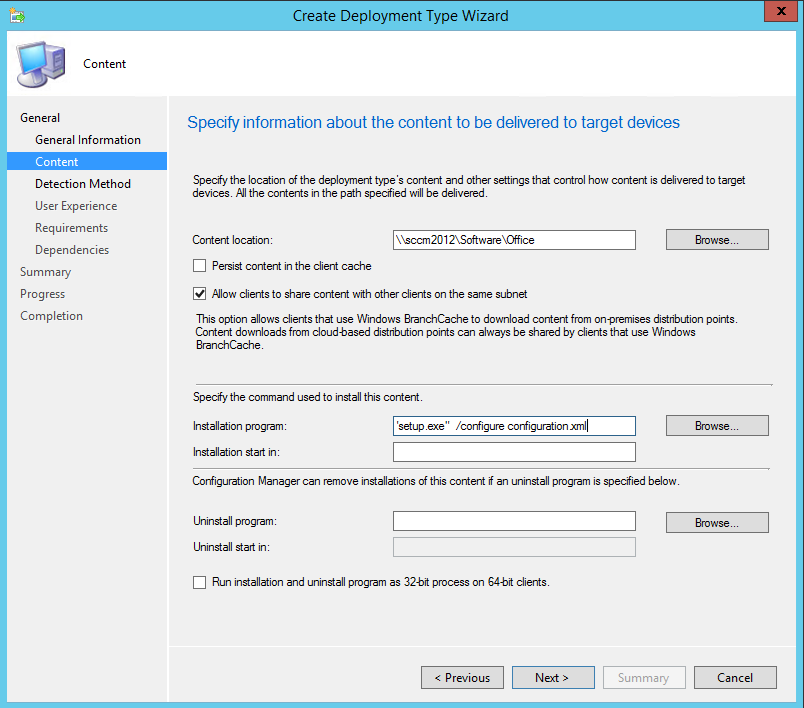
Over the ‘Specify information about the content to be delivered to target devices’, on ‘Content Location’ provide the folder of your application. The location must be UNC Path. As we are going to install this application, on ‘Installation program’ provide the path as below
'setup.exe' /configure configuration .xml
When this is done click on ‘Next’.
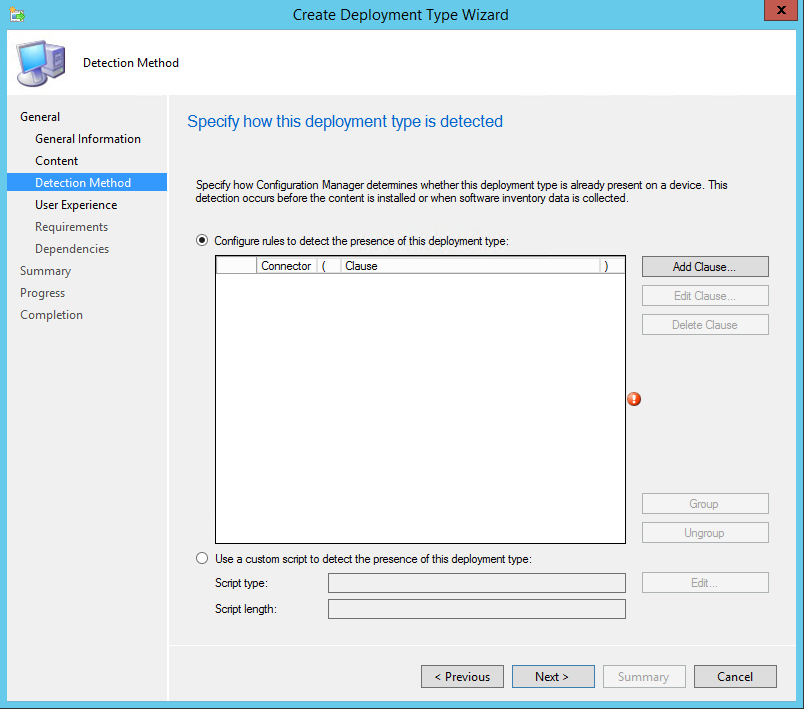
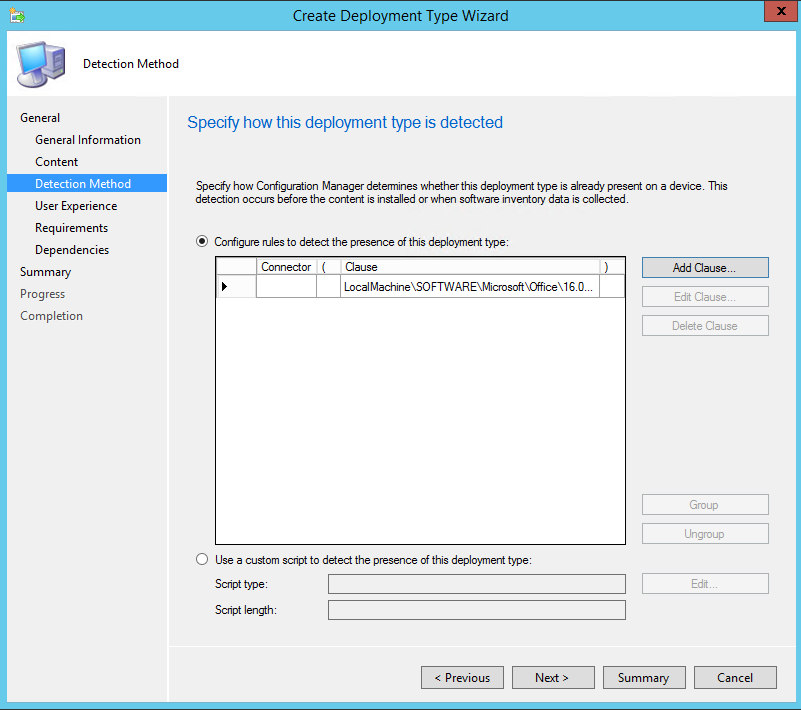
Now we need to provide the clauses that at what true statement should this office package should get install. If you remember, while deploying from GPO I have used the CMD script. So, click on ‘Add clause’ to add the condition.
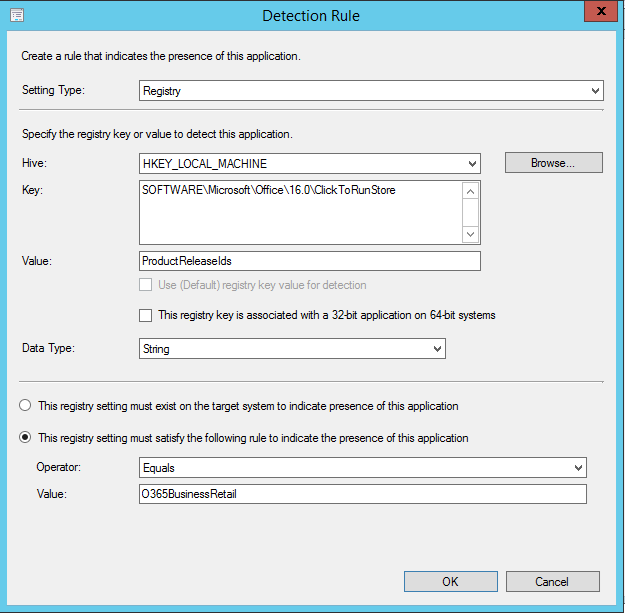
On this portion too I have provided the ‘Registry’ as a validation point and click on ‘OK’.
You can have a multiple Clause with ‘AND ‘ and ‘OR’ features, Once clauses are done click on ‘Next’.
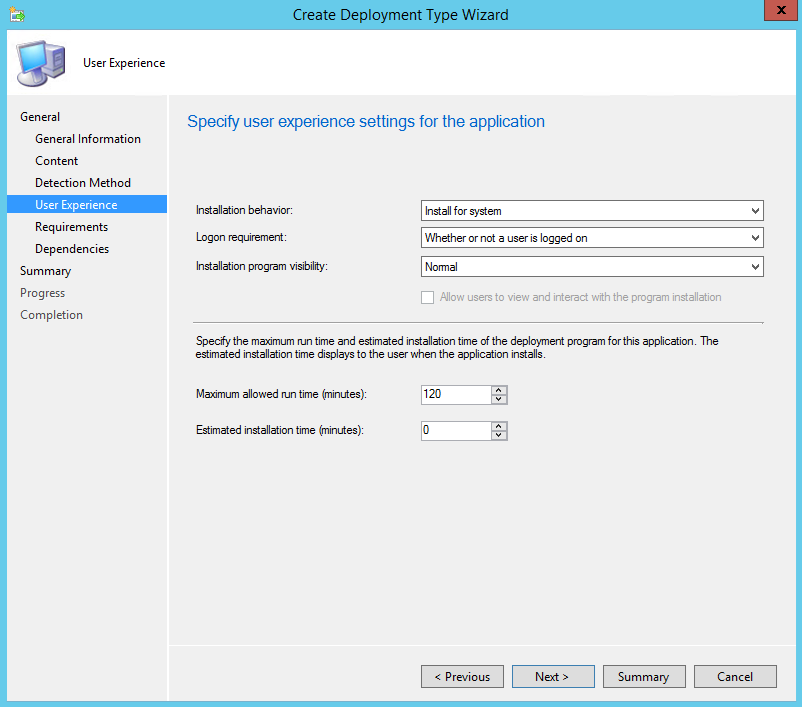
On ‘User Experience’, Since I am going to install this in system whether or not user have logged on. I have selected ‘Installation Behavior’ as ‘Install for system’ and ‘Logon Requirement’ as ‘Whether or not a user is logged on’.
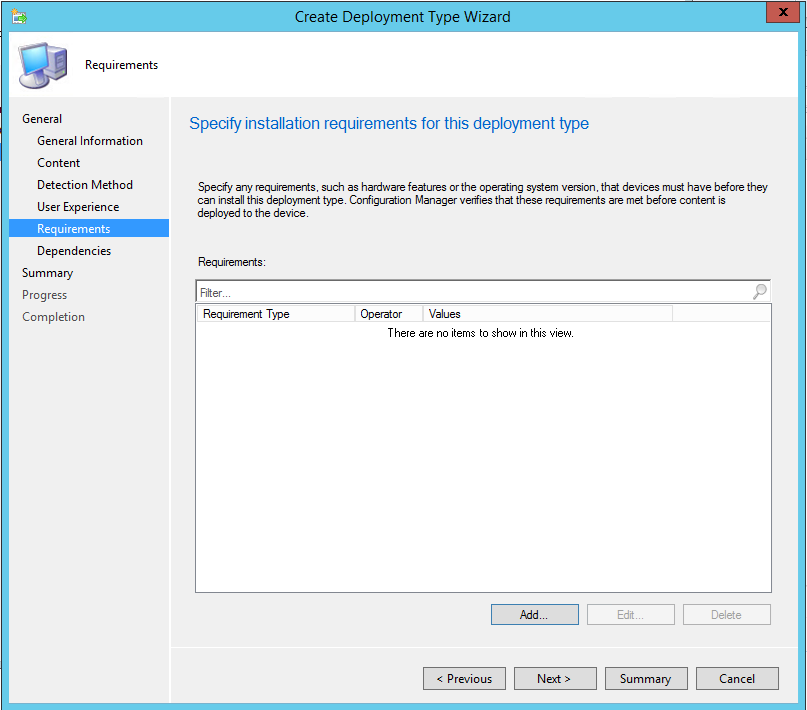
For Requirement Type, there was nothing for me hence left it empty and click on ‘Next’.
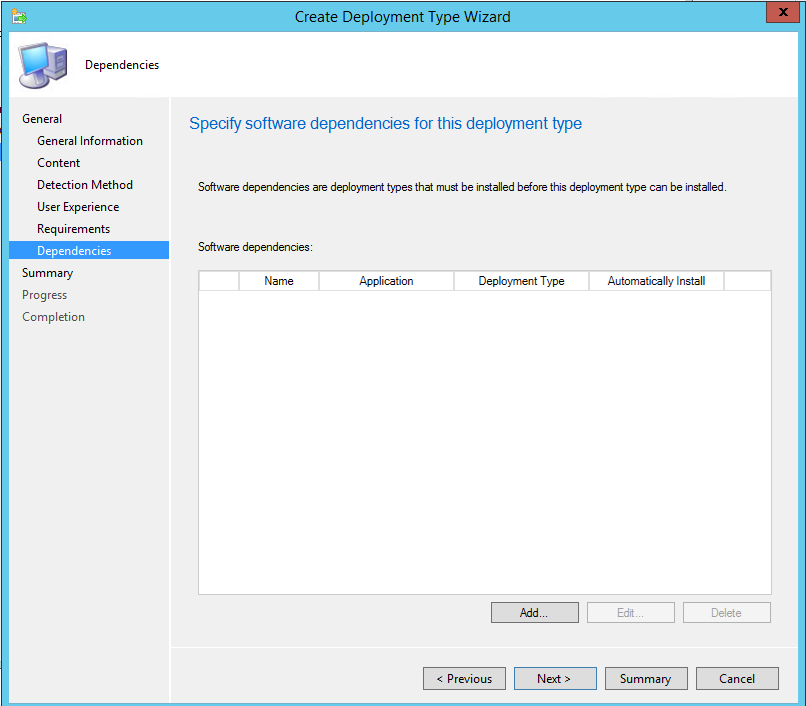
Same with ‘Dependencies’, no ‘Dependencies’ are there with Office package, hence click on ‘Next’.
Now, on the summary check the configuration. If the configuration is okay, click on ‘Next’.
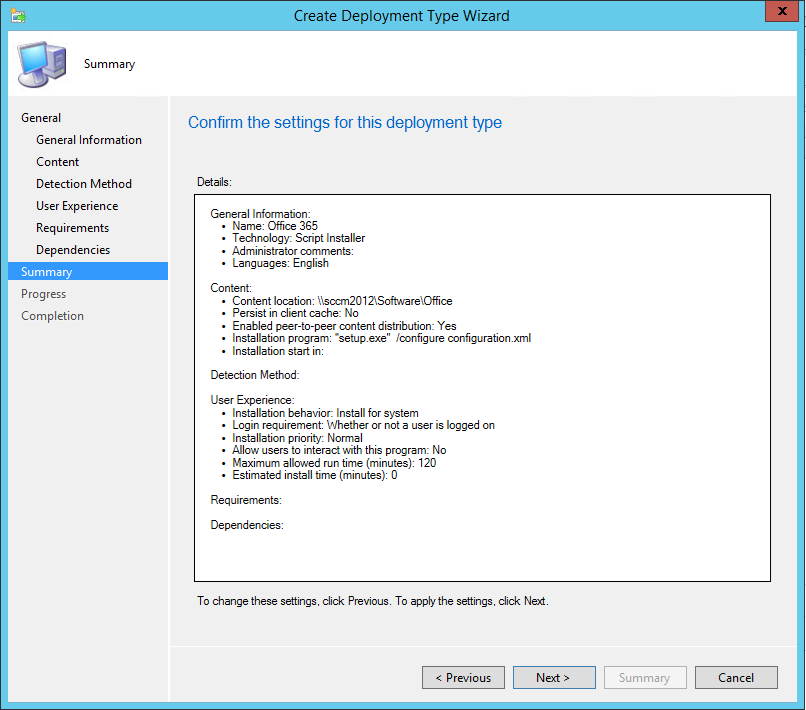
It will take while to complete the wizard, after it got complete click on ‘Close’.
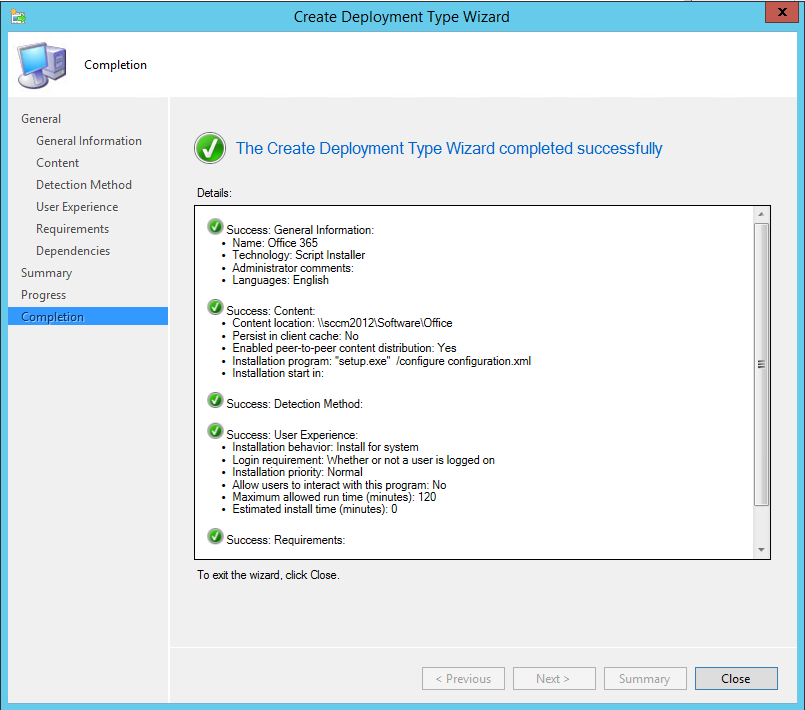
That is how we just created the ‘Deployment Types’, over here we can add multiple deployment types. But for now, I do have only once, so clicked on ‘Next’.
Check the summary of ‘Application Wizard’, if required you can make change. Else click on ‘Next’.
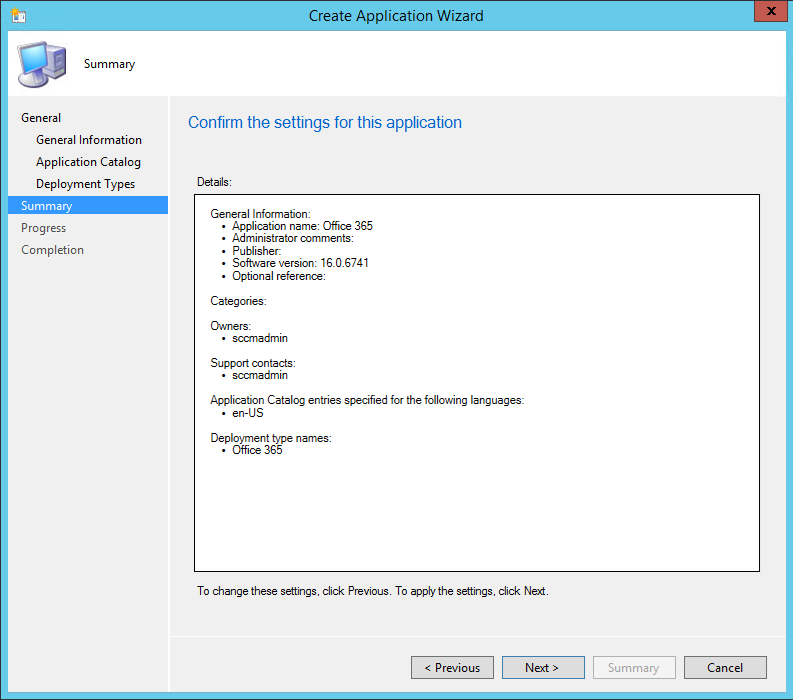
It will take while to create an application wizard.
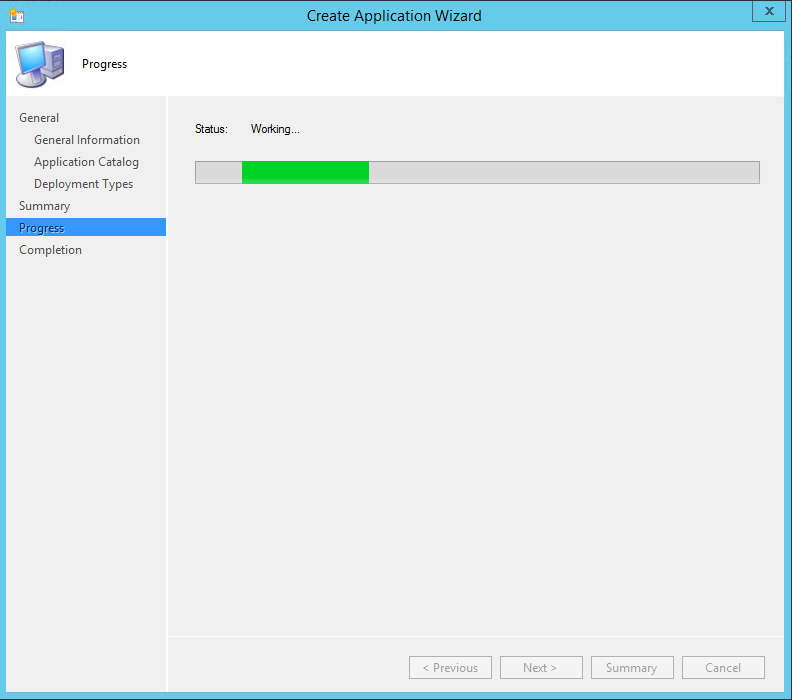
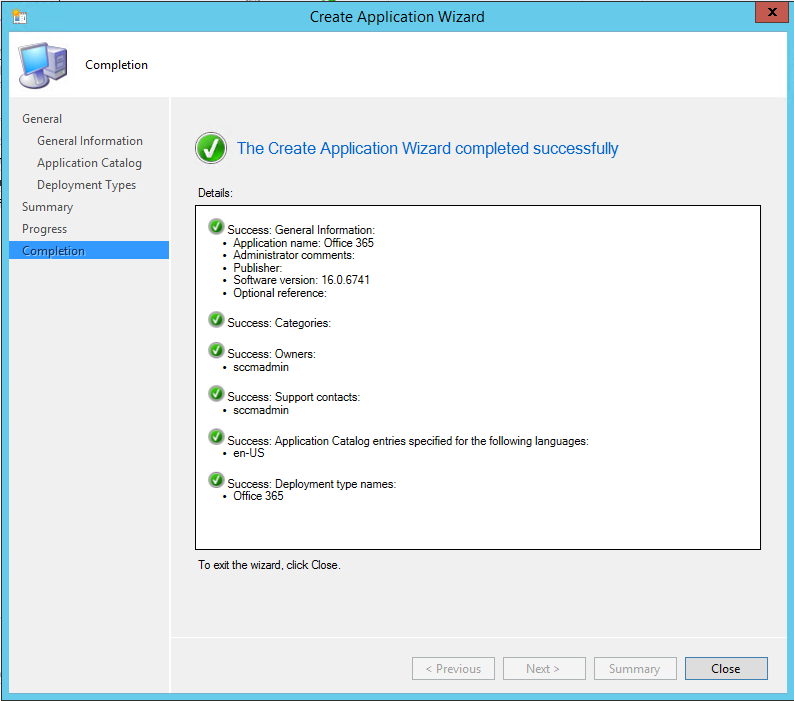
Once Application wizard is complete, click on Close.
Update Distribution Point
After the completion of the ‘Creating Application’, now it’s time to make it ready to deploy by updating the distribution point for this application.
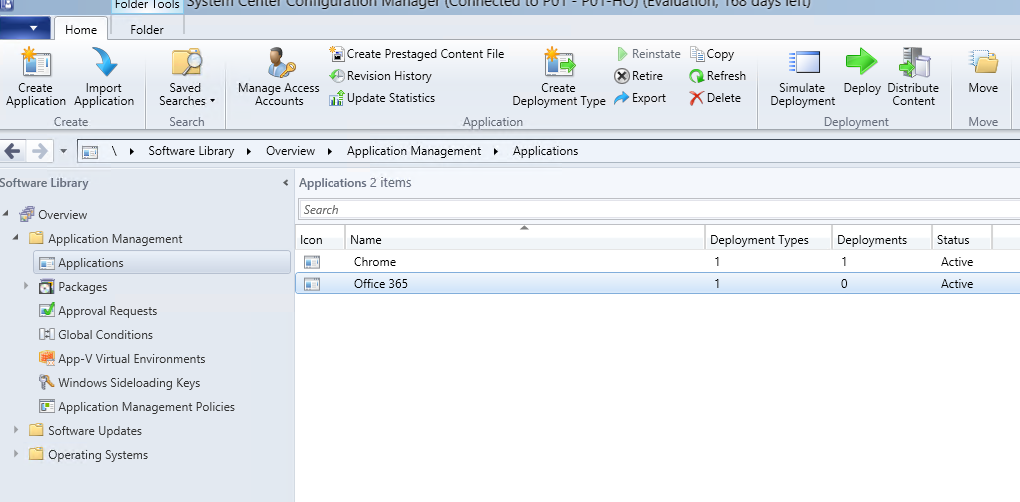
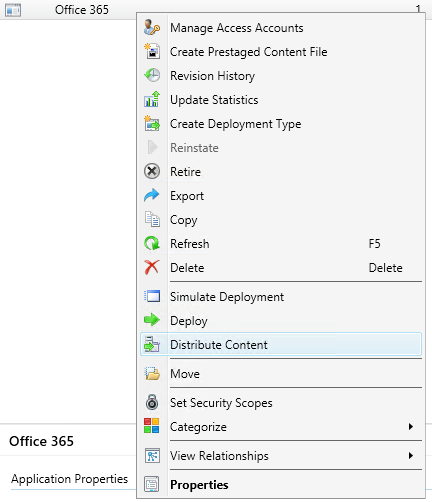
To update the distribution point of this content, Right-click on the ‘Office 365’ package and click on ‘Distribute Content’.
A new window with ‘Distribute Content Wizard’ will get open, click on ‘Next’.
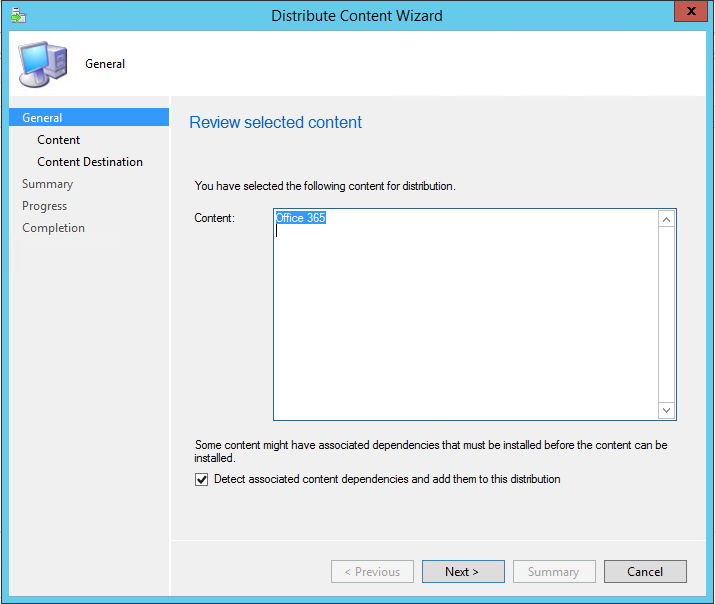
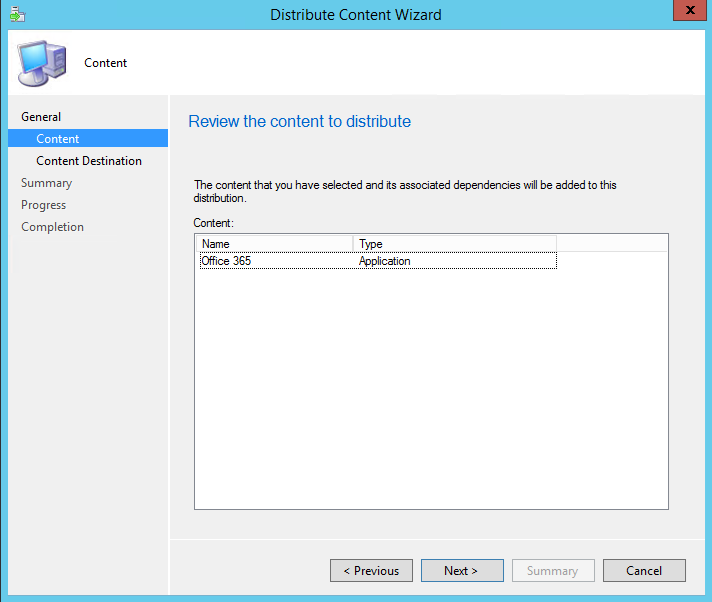
Select the ‘Content’ for which you want to create a Distribution point and click on ‘Next’.
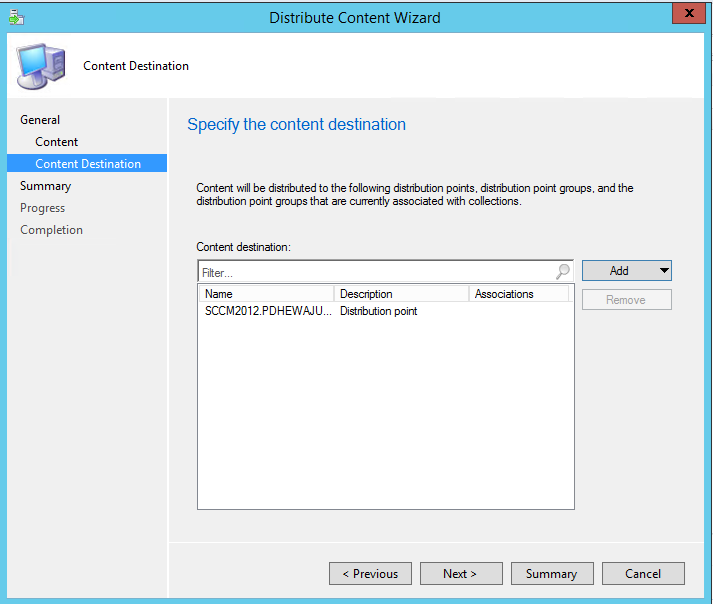
Now on the ‘Content Destination’ Click on ‘Add’ to add the available distribution point. Once the ‘Distribution Point’ is added, click on ‘Next’.
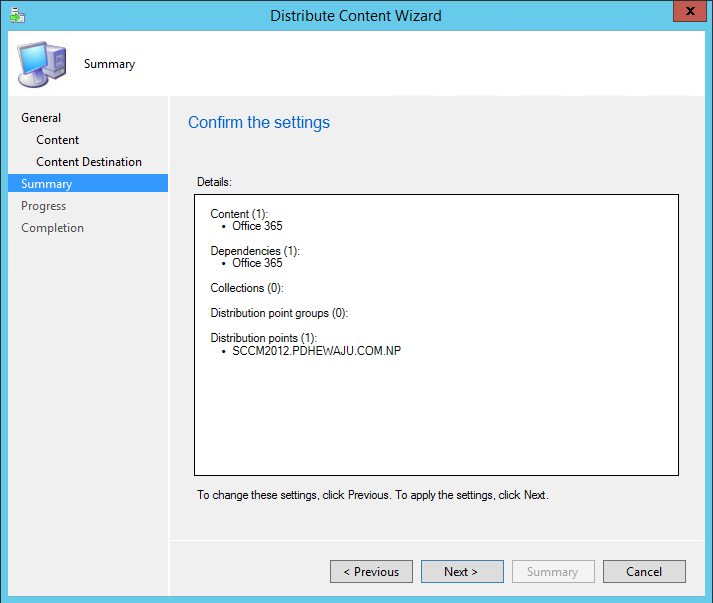
Check the summary of your ‘Distribute Content Wizard’ and click on ‘Next’.
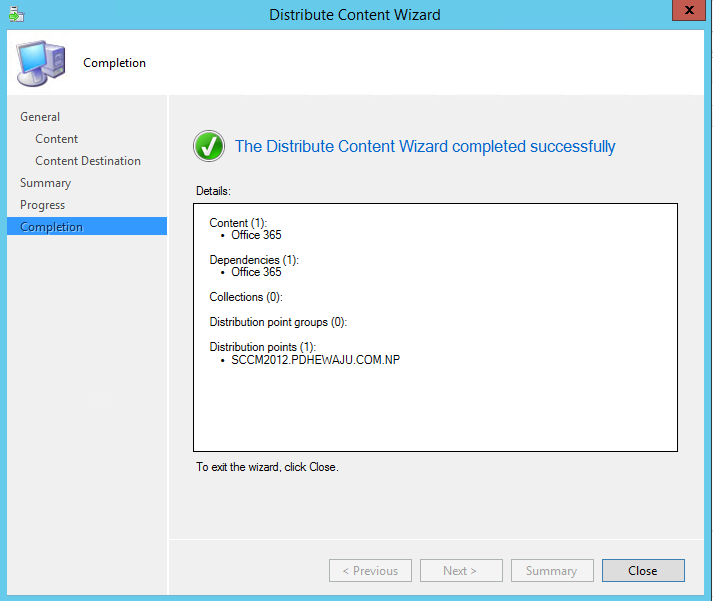
It takes a bit of time to be ready, once ‘Distribute Content Wizard’ completes successfully click on ‘Close’.
Deploy O365:
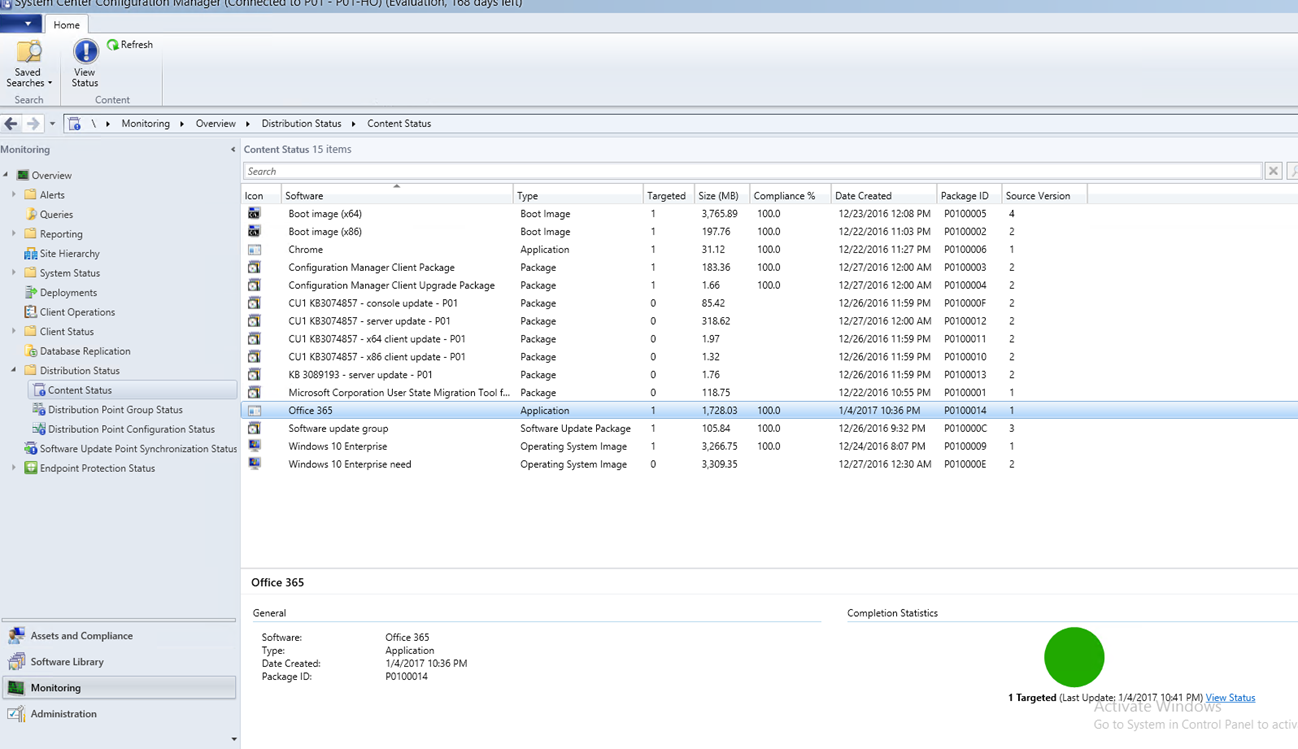
Before you deploy Office 365 package, go to the ‘Monitoring’ Expand ‘Distribution Status’ and click on ‘Content Status’. Over there you will a lot of contents that has been getting deployed from your SCCM (if you have any). Over here, find the package of office 365 which you created earlier and check if it has been completed or not with updating distribution point. You can simply check the color at ‘Completion Statistics’, if it is ‘Yellow’ or ‘Black’ it is not ready, if it is ‘ Green’ then it means you are ready with deployment.
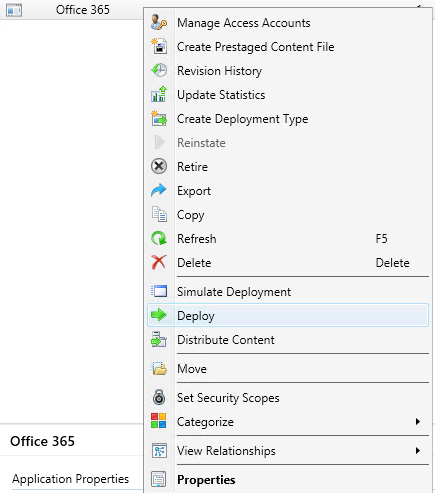
Now you are ready to deploy the application, Select ‘Software Library’ expand ‘Application Management’ and click on ‘Application’. Here is the O365 application which you have prepare ready, Right-click on it and select ‘Deploy’.
On the ‘Deploy Software Wizard’ click on ‘Browse’ to select the ‘Collection Group’ on which you want to deploy it.
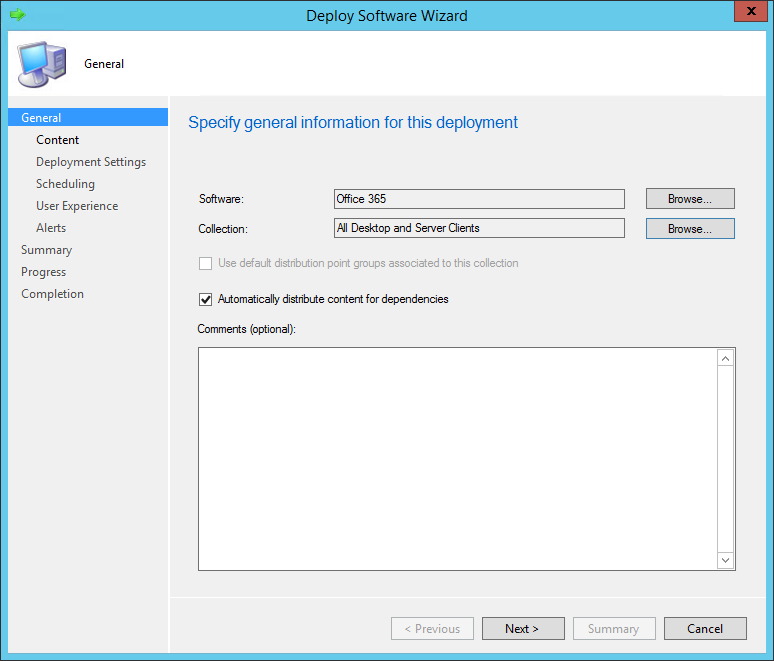
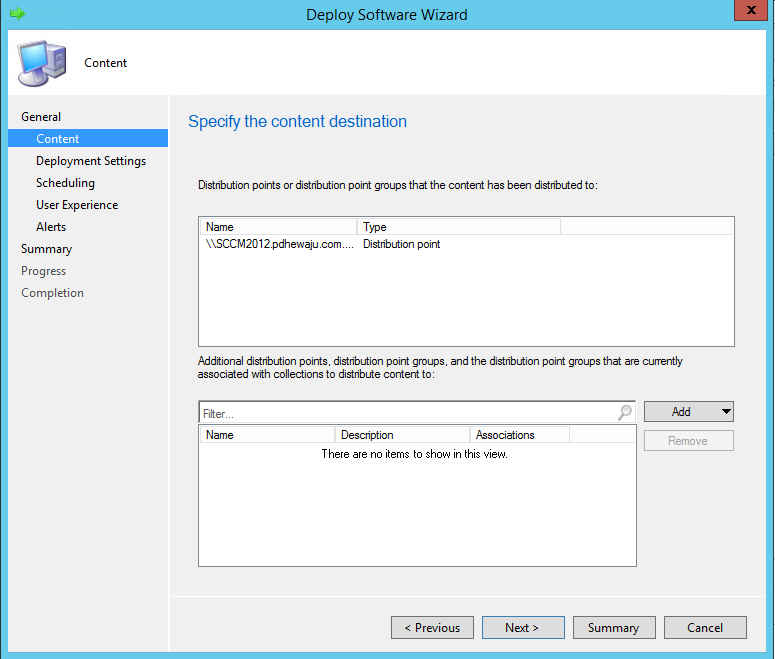
As we have already updated the distribution point, it will get appear over here automatically. Click on ‘Next’.
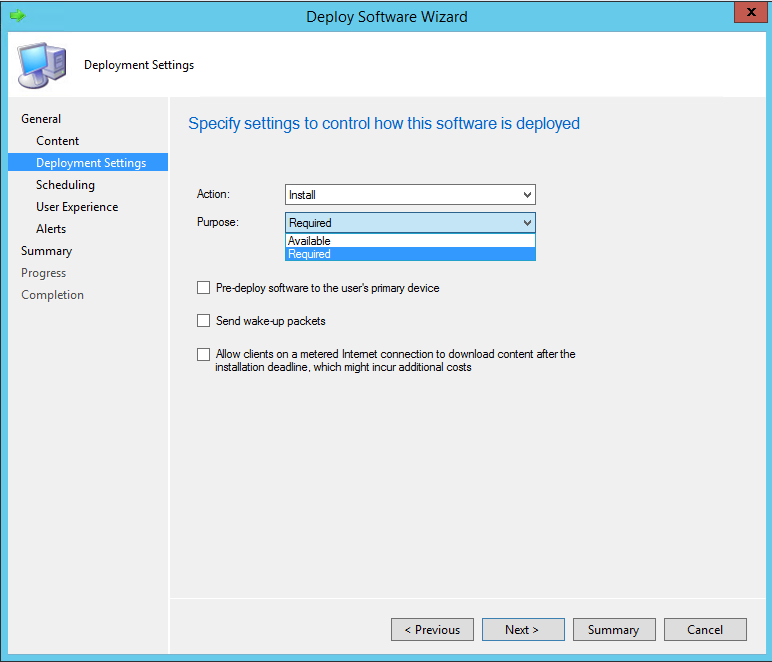
On the ‘Deployment Settings’ what you want to make the Action, whether you want to push this software mandatory or give user flexible. If you want to push mandatory select ‘Required’ else select ‘Available’ and click on ‘Next’.
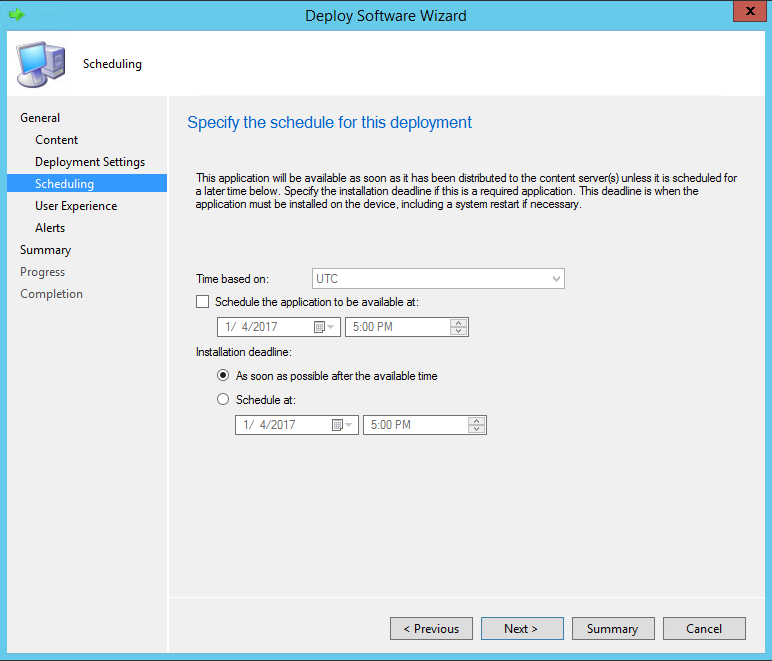
On ‘Scheduling’ you can choose the time from when you will be advertising this software and till which date and click on ‘Next’. In my case I choose, ‘As soon as possible after the available time’.
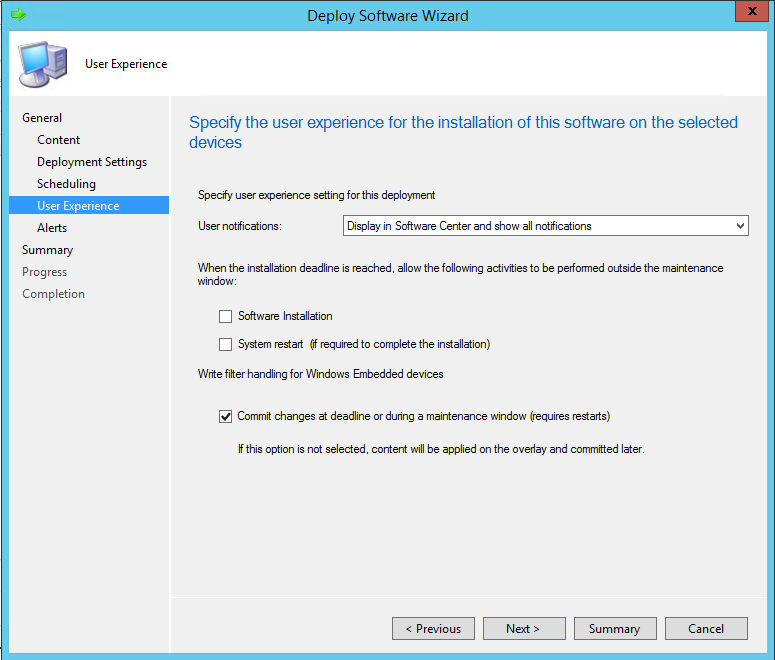
On ‘User Experience’ in my case selected ‘User notification’ as ‘Display in Software Center and show all notifications’ and clicked on ‘Next’.
Let the ‘Alerts’ as it is and click on ‘Next’.
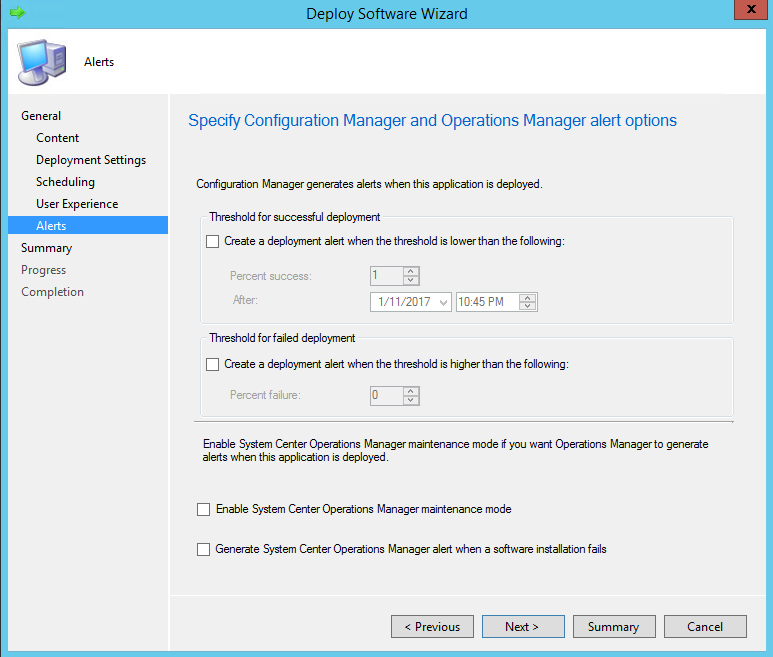
On the ‘Summary’ check it as it is of required or not and click on ‘Next’.
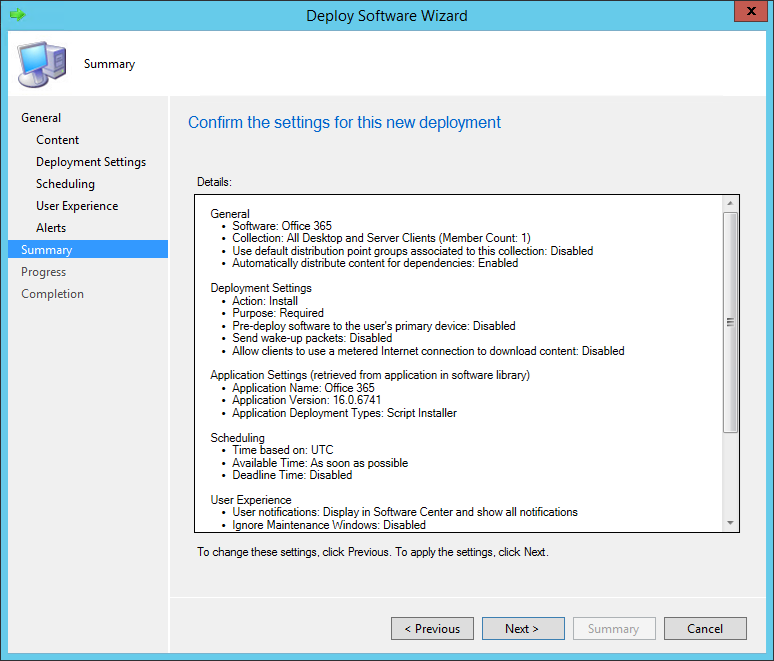
It will take while to complete the ‘Summary’, once the summary is complete click on ‘Next’.
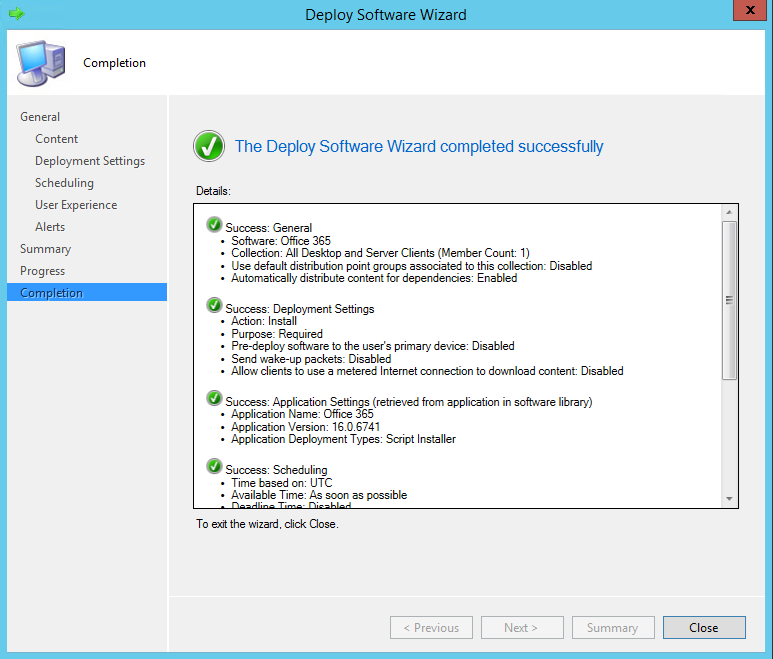
Client end:
When deployment is complete, after certain interval of time you can see created ‘Office 365’ package on the ‘Software Center’ of client end.
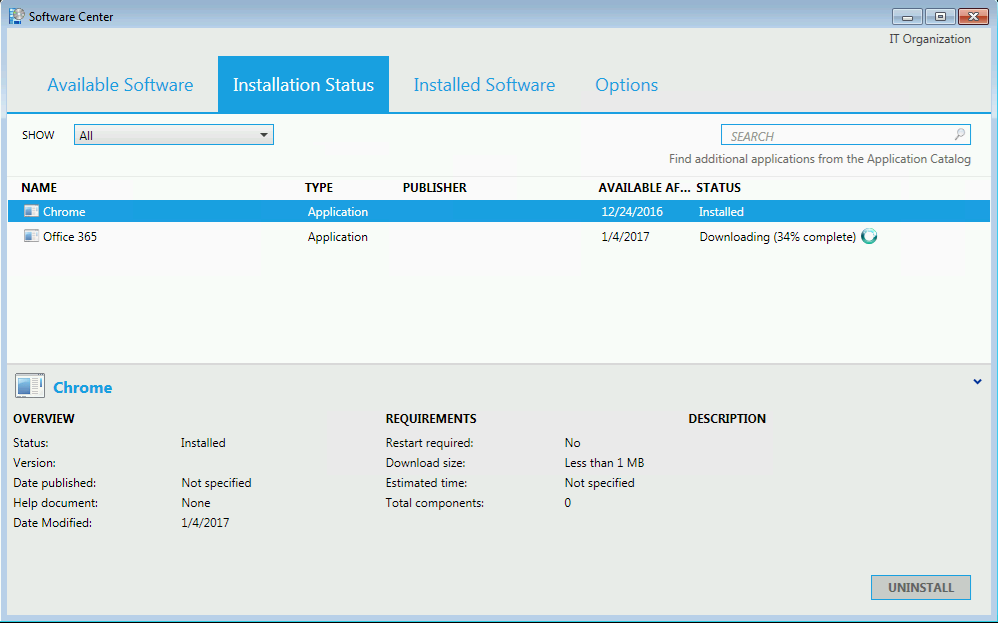
Before Installing the software, it will download and start the installation process.
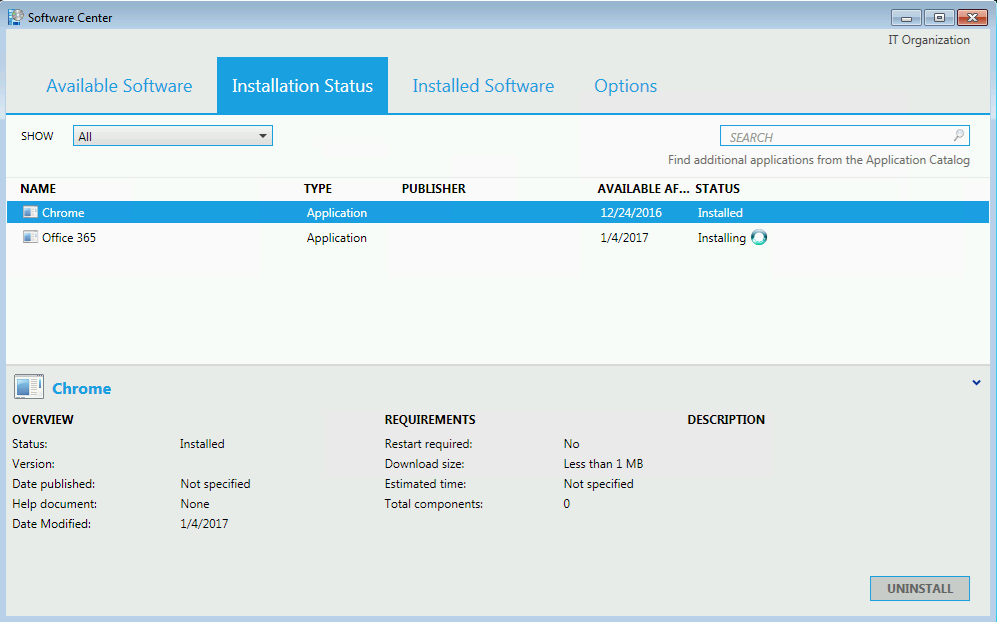
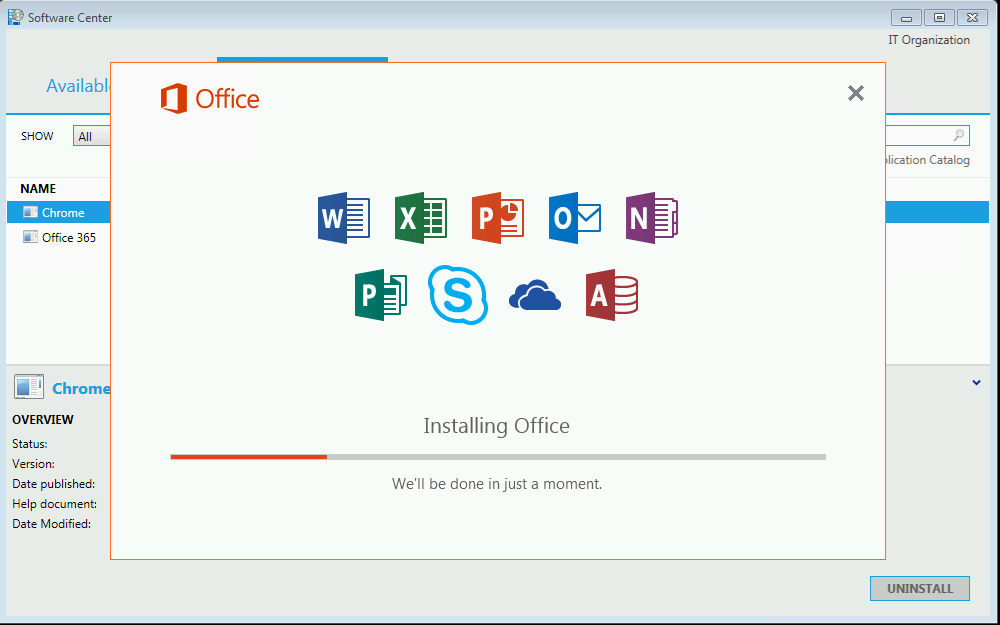
During the installation process you can see the installation progress as of the Office installation on below screen.
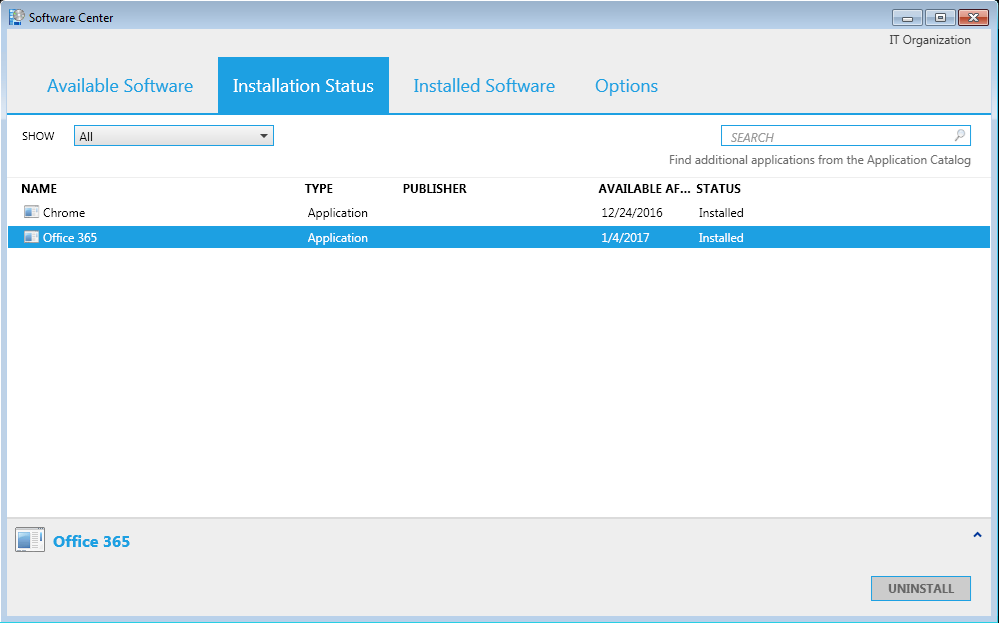
After completion of installation on ‘Installation Status’ you can see the ‘Office 365’ Package status ‘Installed’.
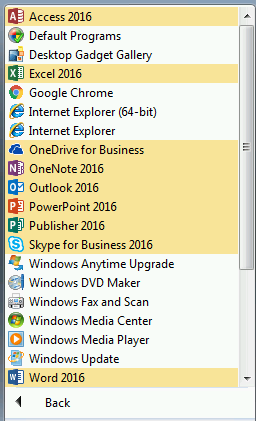
If you click on the start, you can see all the product of office 365 on your computer. J
I hope this blog was quite helpful, please comment for any help regard this 🙂.
![[solved]Prerequisite Installation failed: RewriteModule](/wp-content/themes/ribbon-lite/images/nothumb-related.png)
Thanks for sharing valuable information.