Prepare Offline Installer of Office 365 Office Package
If you do have Office 365 with Office Package, how will you install your office package on enterprise level?? That would be great question to the IT Administrators. Will I be downloading office on each and every machine or I can have any offline download installer package?… so, for this blog I am working to share my knowledge on how are the criteria to create an offline installer of Office Package. New package of Office installer uses Click-to-Run tool that be Office 365 Office Package or Office 2016 Package. As I am focusing on O365, I will share on how we can do it with Office 365 Office Package.
Product Details:
The following Office 365 product IDs are supported by the Office Deployment Tool for Click-to-Run in Office 365 deployments:
- O365ProPlusRetail
- O365BusinessRetail
- VisioProRetail
- ProjectProRetail
- SPDRetail (SharePoint Designer 2013)
And also, it supports some individual products which will be listing below. Before creating offline package, you need to download which you can download from below link:
- Office Deployment Tool (Office 2013 version) for Office 2013 Version
- Office Deployment Tool (Office 2016 version) for Office 2016 Version
Extract Office Deployment Tool:
Once you download any of the package, open the installer file. It will prompt you the EULA as of the below screen.

Select on ‘Click here to accept the Microsoft Software License Terms’ and click on ‘Continue’. Now the location to extract this files gets appear, select the location and click on ‘Ok’.

At the extract location, you will find the two files Configuration.xml and Setup.exe

Configuration of Package:
So, Configuration.xml is the file which allow us to switch on to prepare different offline office package installer. You will find script something like this on this file
<Configuration>
<Add OfficeClientEdition="64">
<Product ID="O365BusinessRetail">
<Language ID="en-us">
</Product>
</Add>
<Display Level="None" AcceptEULA="TRUE">
<Logging Level="Standard" Path="%temp%">
</Configuration>
Now let me get Brief on this tag Code lines. Everything should be inside the configuration tag.
| Values | Description |
| OfficeClientEdition=”64″ | Download and install 64 bit of office, if you want to have 32 bit of office you can put the value as 32. |
| Product ID=”O365BusinessRetail” | Download and Install Office 365 Business. You can have other product which is tagged with product ID below. |
| Language ID=”en-us” | Download and install English version of Office |
| Display Level=”None” AcceptEULA=”TRUE” | When installing Office, no user interface is displayed. |
| Logging Level=”Standard” Path=”%temp%” | Log files are stored in the %temp% folder. |
Product ID:
On the above code, you saw the Product ID. So, what are the else Product ID you can use. Here is the listed Product ID, which is useful.
For Package of Office 365 Plan
|
Office 365 plan |
Product ID |
| Office 365 ProPlus Office 365 Enterprise E3 Office 365 Enterprise E4 Office 365 Midsize |
O365ProPlusRetail |
| Office 365 Business Office 365 Business Premium |
O365BusinessRetail |
| Office Small Business Premium | O365SmallBusPremRetail |
For Individual Products
- AccessRetail
- ExcelRetail
- HomeBusinessRetail
- HomeStudentRetail
- InfoPathRetail
- ProfessionalRetail
- O365HomePremRetail
- O365SmallBusPremRetail
- OneNoteRetail
- OutlookRetail
- PowerPointRetail
- ProjectProXVolume
- ProjectStdRetail
- ProjectStdXVolume
- PublisherRetail
- VisioProXVolume
- VisioStdRetail
- VisioStdXVolume
- WordRetail
For Skype For Business
|
Product |
Version of the Office Deployment Tool |
Product ID |
| Skype for Business Basic 2015 | Office 2013 | LyncEntryRetail |
| Skype for Business 2015 | Office 2013 | LyncRetail |
| Skype for Business Basic 2016 | Office 2016 | SkypeforBusinessEntryRetail |
| Skype for Business 2016 | Office 2016 | SkypeforBusinessRetail |
Now what if, I have to ADD Multiple Product Lines, Is it possible?? Yes, for the multiple product lines also you can add using this script. Here is the example that can help you to Build one.
<Configuration>
 <Add OfficeClientEdition="64" >
   <Product ID="O365ProPlusRetail">
     <Language ID="en-us" />
   </Product>
   <Product ID="VisioProRetail">
     <Language ID="en-us" />
   </Product>
 </Add>
<Display Level="None" AcceptEULA="TRUE" />
<Logging Level="Standard" Path="%temp%" />
</Configuration>
On this example, I have used two product lines two prepare the offline Office Installer package. In first line of Product, I have used ‘Office 365 Pro Plus’ and on second Product I have used ‘Visio Professional‘. During adding up the products you need to make user that both the product content doesn’t get collide.
Downloading Package:
Now what next after the completion of the required configuration of configuration.xml file. Over here next step is to download the Office Product to prepare the offline installer. To download the office package as of the configuration.xml file use the below command.
setup.exe /download configuration.xml

it will take around 30-60 minutes, depending upon your Internet Speed. A new folder name ‘Office’ will be created on the same location on which the data of office is download. The size of download is approx. 1 GB for Office 365 Business and varies with the Product details.
Installing Package:
Once the download is complete, Go to the Directory of you downloaded Office 365 Package and you can start the Installation of O365 Office package on your computer with the below command lines:
setup.exe /configure configuration.xml

Once you run the command, you will see the image like below with running dots…. Which is preparing your machine.

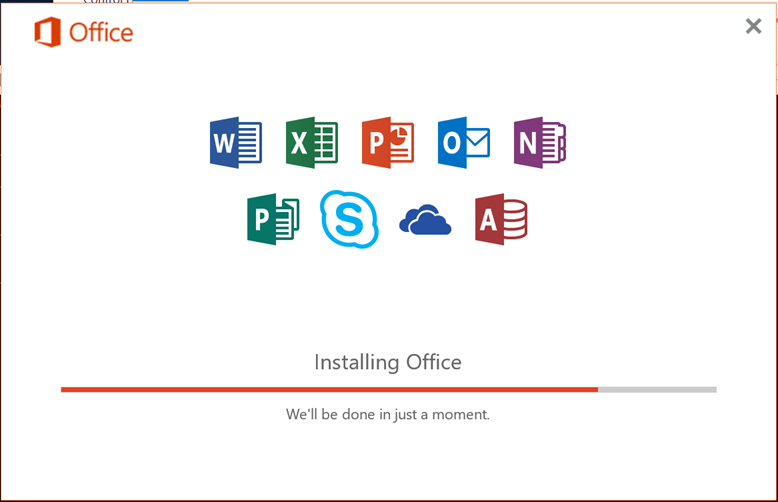
Once the preparation is complete, it will start installing your Office 365 of your version. The good thing about office 365 is you can use office during the installation of Office 365.

Once the installation is complete, you got the machine with office 365 installed. And to get activate your office 365 just use your O365 email ID. That will activate your office package…
Thank you 🙂 .
![[HOW TO] Disable default share on workstations.](/wp-content/themes/ribbon-lite/images/nothumb-related.png)
