DLP Policy using Exchange Online PowerShell
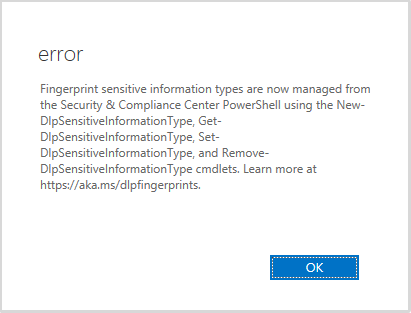
DLP has been major feature on Office 365 Exchange Online. Most of the organization is using this to protect their sensitive data. Today we are taking about how we can add the sensitive data on the DLP policy using Exchange Online PowerShell. One of the other factors to blog this topic for me is, there has been some service degradation of DLP Sensitive addition using GUI Feature. Whenever you try to add the sensitive document template on the DLP fingerprint, you will get prompt with the below error.

Basically, this error is due to some transition going on Office 365 for which Engineers are working to get resolve. And in neat future we will be seeing the DLP policy on our SCC (Security & Compliance Center). So, let’s move ahead with the procedure for the PowerShell Configuration.
Configuring DLP Sensitive Template using Powershell
To connect the PowerShell for the Compliance configuration, you need to use below cmdlet on your Windows PowerShell, opened with Administrative Privilege.
$UserCredential = Get-Credential

$Session = New-PSSession -ConfigurationName Microsoft.Exchange -ConnectionUri https://ps.compliance.protection.outlook.com/powershell-liveid/ -Credential $UserCredential -Authentication Basic -AllowRedirection

Import-pssession $session

Once you get connected to the Exchange Online Powershell, run the below cmdlet to add the template on your DLP finger print.
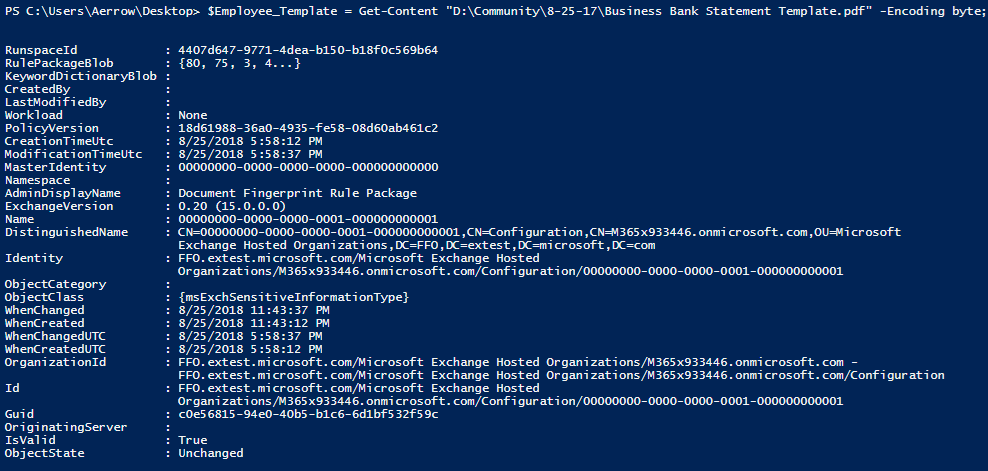
$Employee_Template = Get-Content "D:\Aerrow\blog\Business Bank Statement Template.pdf" -Encoding byte; $Employee_Fingerprint = New-DlpFingerprint -FileData $Employee_Template -Description "Bank Template"; New-DlpSensitiveInformationType -Name "Bank Confidential" -Fingerprints $Employee_Fingerprint -Description "Message contain custom message template."
Where Get-Content “D:\Aerrow\blog\Business Bank Statement Template.pdf” is the location of the template file for the sensitive information.

If success you will get the screen as of the Above, but if you get something like this in below. Follow the instruction.

On your Exchange online PowerShell, run the below Cmdlet.
Migrate-DlpFingerprint

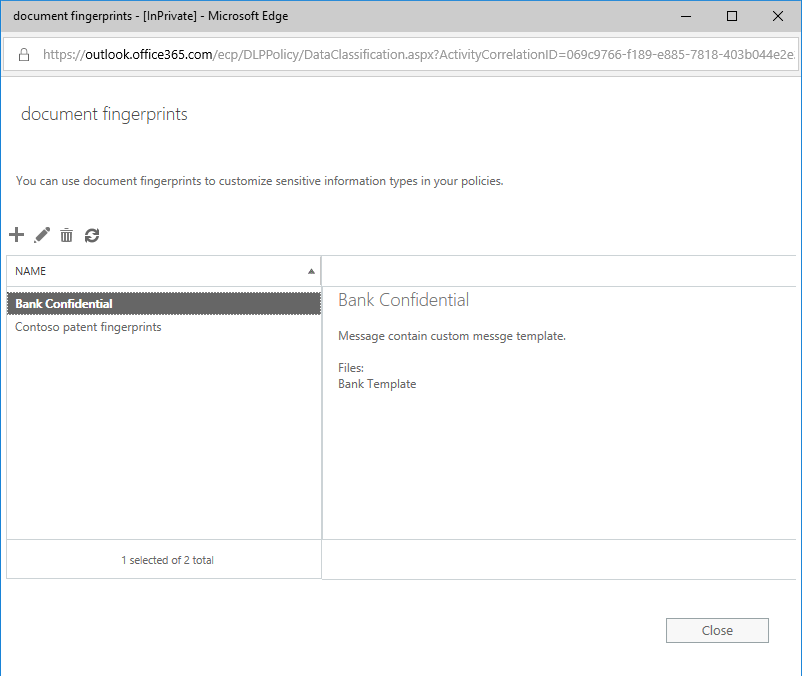
To verify that the DLP template as been added in your tenant you can run below cmdlet.
Get-DlpSensitiveInformationType | Sort Publisher

Or you can use the GUI view too.

Once the DLP Sensitive fingerprint Template is upload you can now easily create an DLP policy. If you need to know how to create DLP Policy visit this link below:
http://pdhewaju.com.np/2016/12/01/document-dlp-with-exchange-server/
Hope this blog will help you to resolve you this issue. and help you to create a DLP policy using PowerShell.

![[solved] Expire AD account immediately](/wp-content/themes/ribbon-lite/images/nothumb-related.png)
